This guide shows step by step how to add a Loopia email account to Mozilla Thunderbird using IMAP, with all the server settings you need if the automatic configuration does not work.
We use info@example.com as an example address throughout the guide – replace it with your own. The instructions assume the mailbox was created in the Loopia Customer Zone. Mailboxes from other providers use different server settings, so contact your provider if your address is not hosted at Loopia.
Setting up a new account
Step 1: Basic settings
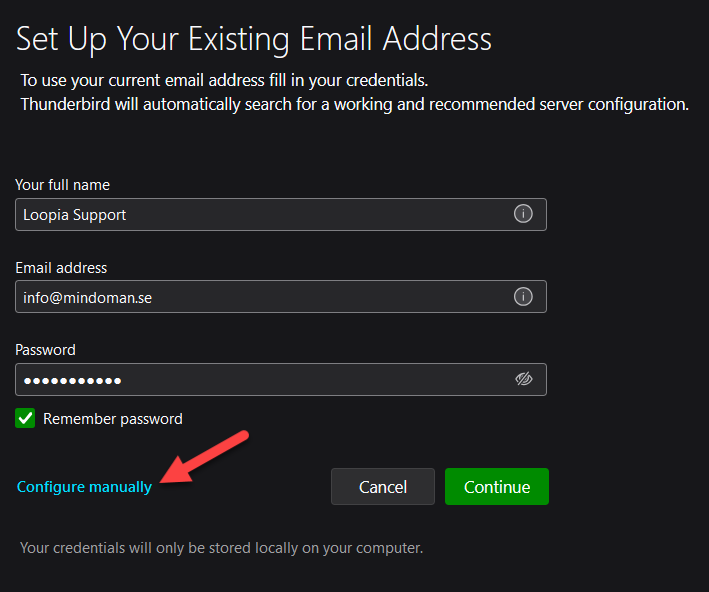
In Thunderbird, open the account setup wizard and enter your full email address, a display name (the name recipients will see) and the password for the mailbox.
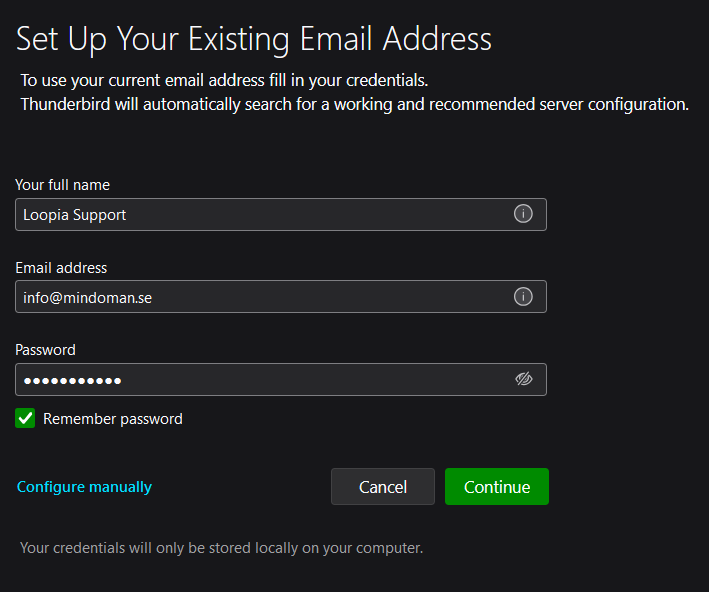
Click Continue. If Thunderbird detects the settings automatically and shows mailcluster.loopia.se under both Incoming and Outgoing, you can click Done and the account is ready to use.
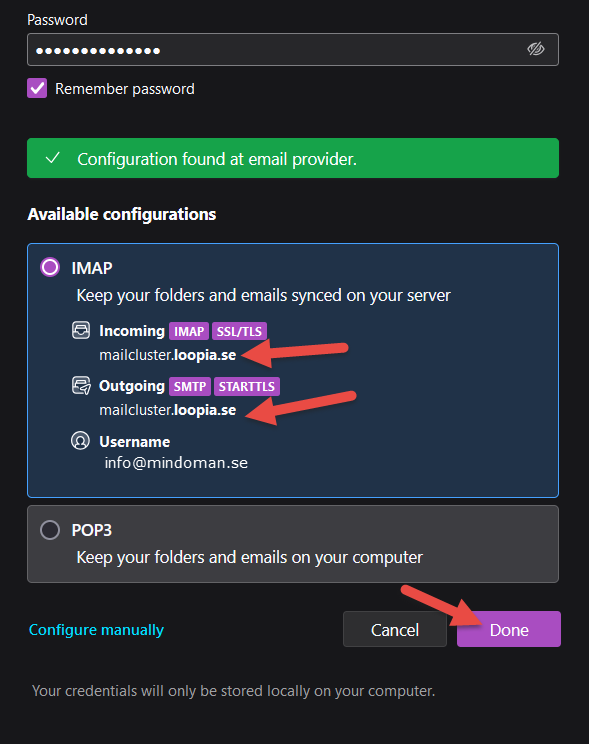
If Thunderbird shows other host names instead – for example imap.loopia.se or smtp.loopia.se – click Configure Manually and continue with Step 2 below.
Step 2: Enter the Loopia email settings
Fill in the IMAP and SMTP values exactly as shown below. These settings apply to all mailboxes created in the Loopia Customer Zone.
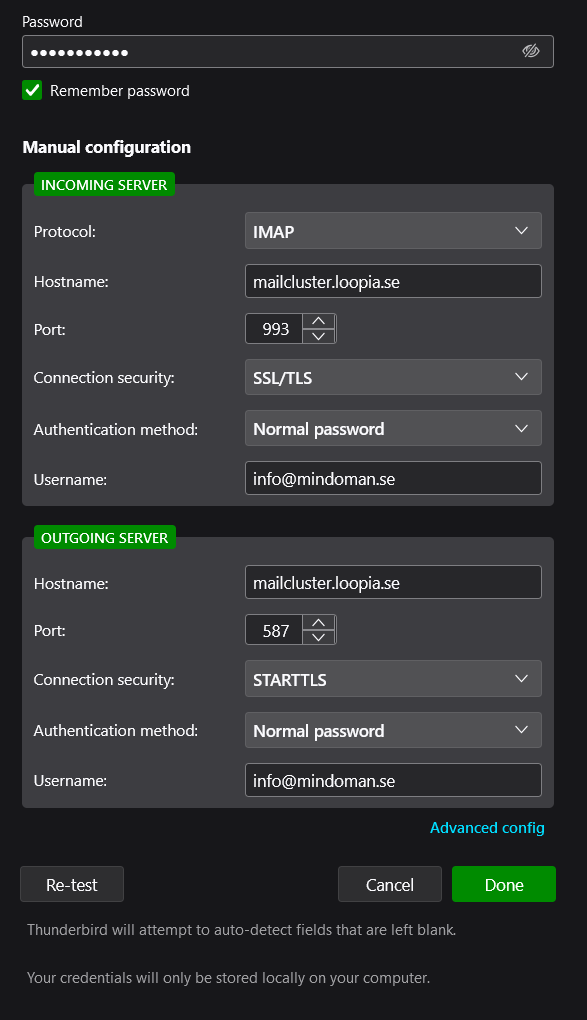
Incoming server
- Protocol: IMAP
- Hostname: mailcluster.loopia.se
- Port: 993
- Connection security: SSL/TLS
- Authentication method: Normal password
- Username: your full email address
Outgoing server (SMTP)
- Hostname: mailcluster.loopia.se
- Port: 587
- Connection security: STARTTLS
- Authentication method: Normal password
- Username: your full email address
Click Done when all the values are entered.
Step 3: Complete the setup
When Thunderbird has verified the account settings and password, click Finish.
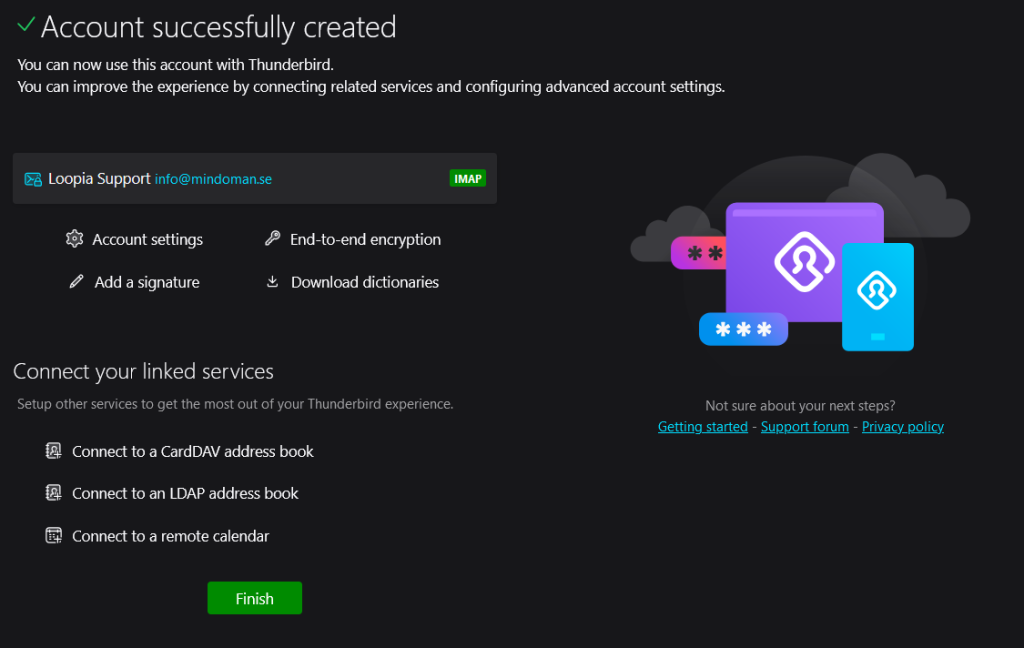
Your account is now set up and ready to send and receive email.
Step 4: Add more email accounts (optional)
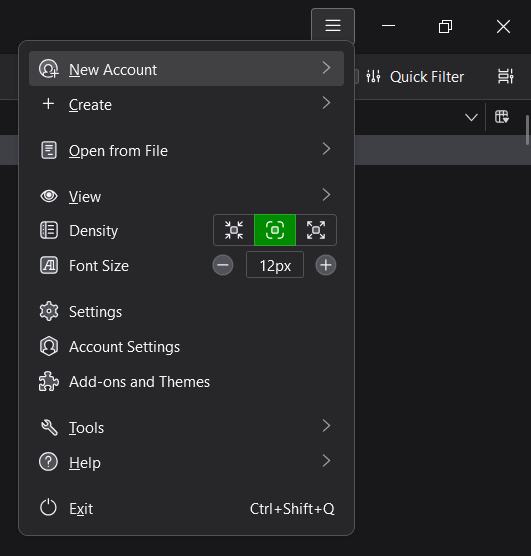
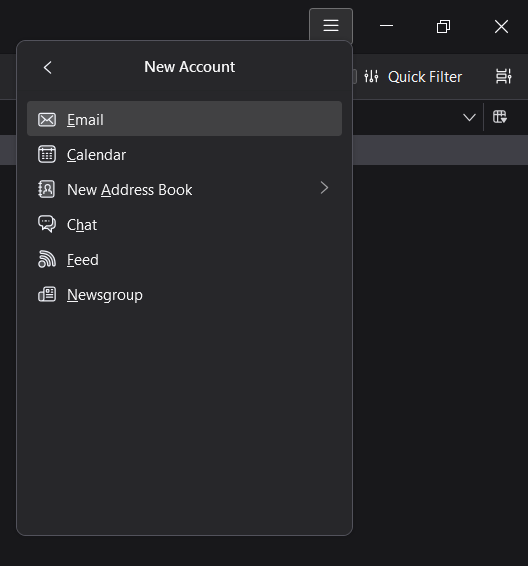
To add more mailboxes, open the Thunderbird menu in the top-right corner of the program, select New account and then Email. Repeat this guide from Step 1 for each additional account.