This guide shows how to add a Loopia email account by IMAP in New Outlook (Outlook 2024 for Windows), and how to update the server settings or password on an account you have already set up.
We use name@domain.com as an example address – replace it with your own. The guide assumes the mailbox was created in the Loopia Customer Zone. Mailboxes from other providers use different server settings, so contact your provider if your address is not hosted at Loopia.
Setting up a new account
Step 1: Enter your email address
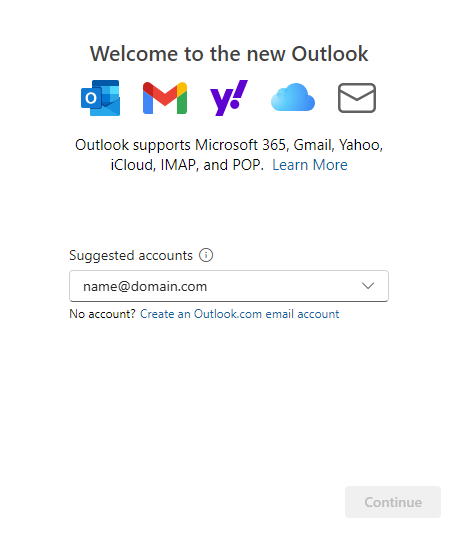
When you launch New Outlook for the first time, you are prompted to add an email address. Type in your full Loopia email address and click Continue.
Step 2: Enter your password
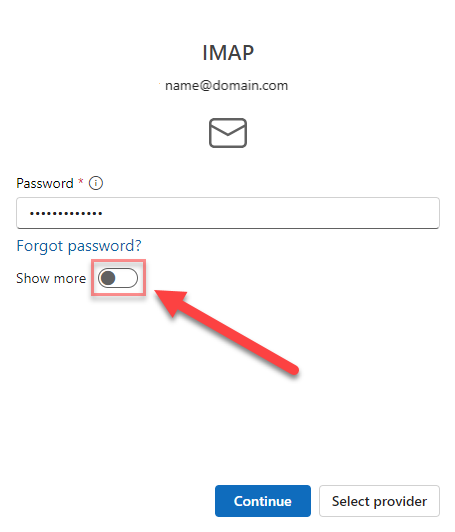
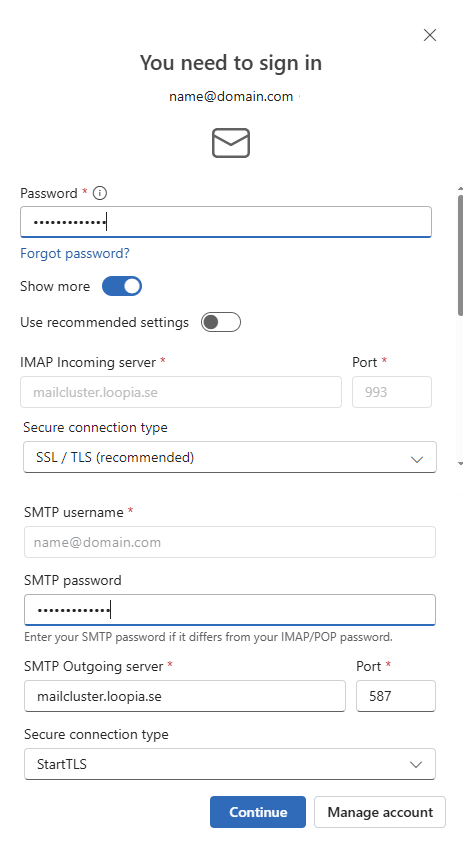
Enter the password for the mailbox. Then click Show More (shown in the screenshot below) to expand the dialog so you can enter the server settings manually.
Step 3: Enter Loopia’s email settings
Fill in the IMAP and SMTP settings exactly as shown below. These values apply to all mailboxes created in the Loopia Customer Zone.
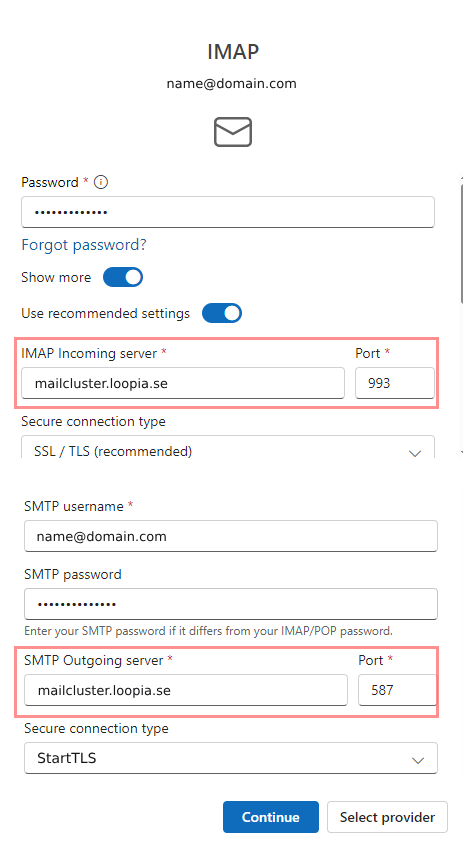
Incoming server (IMAP)
- IMAP incoming server: mailcluster.loopia.se
- Port: 993
- Secure connection type: SSL/TLS
Outgoing server (SMTP)
- SMTP username: your full email address
- SMTP password: the password for your mailbox
- SMTP outgoing server: mailcluster.loopia.se
- Port: 587
- Secure connection type: StartTLS
Step 4: Complete the configuration
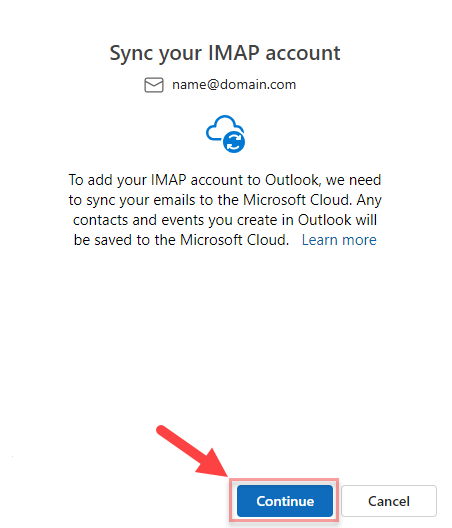
Once the server settings and password are correct, Outlook moves on to the final steps. When prompted to confirm that the IMAP account should be added and synchronised, click Continue.
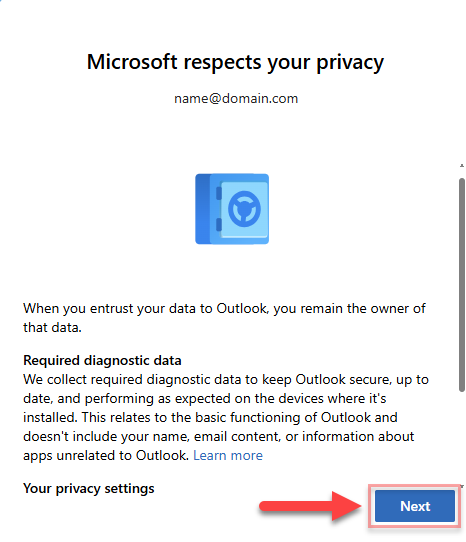
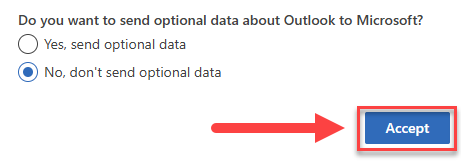
Step 5: Optional Microsoft settings
Microsoft may ask whether you want to contribute diagnostic data. This choice is entirely optional and does not affect how your Loopia email works. Pick the option you prefer and click Accept.
All set
Your Loopia mailbox is now set up in New Outlook. Messages will start to download and you can send and receive email as usual.
Editing an existing account
Use this section to update the password or change the server settings of a mailbox you have already added to New Outlook.
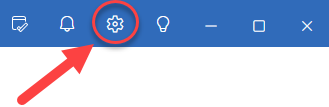
Step 1: Navigate to the email account
Click the gear icon in the top-right corner of Outlook to open the settings. Under the list of email accounts, click Manage next to the relevant account.
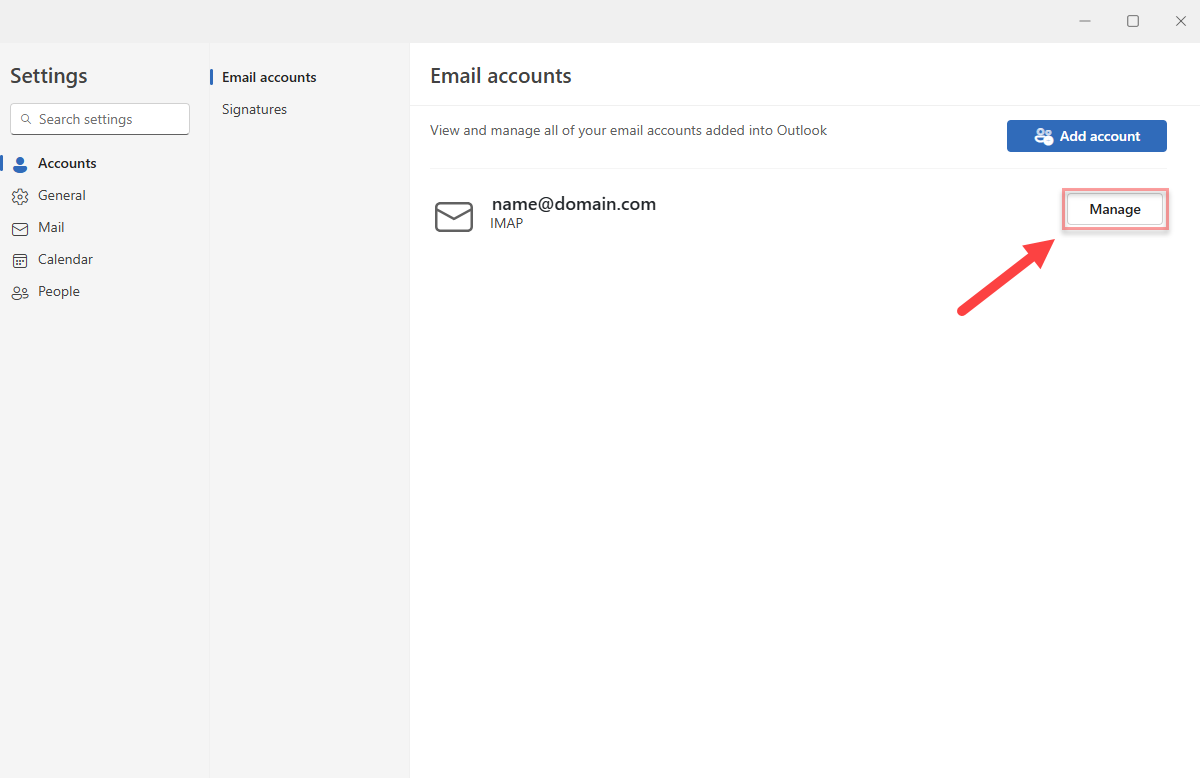
Select Repair to open the server settings.
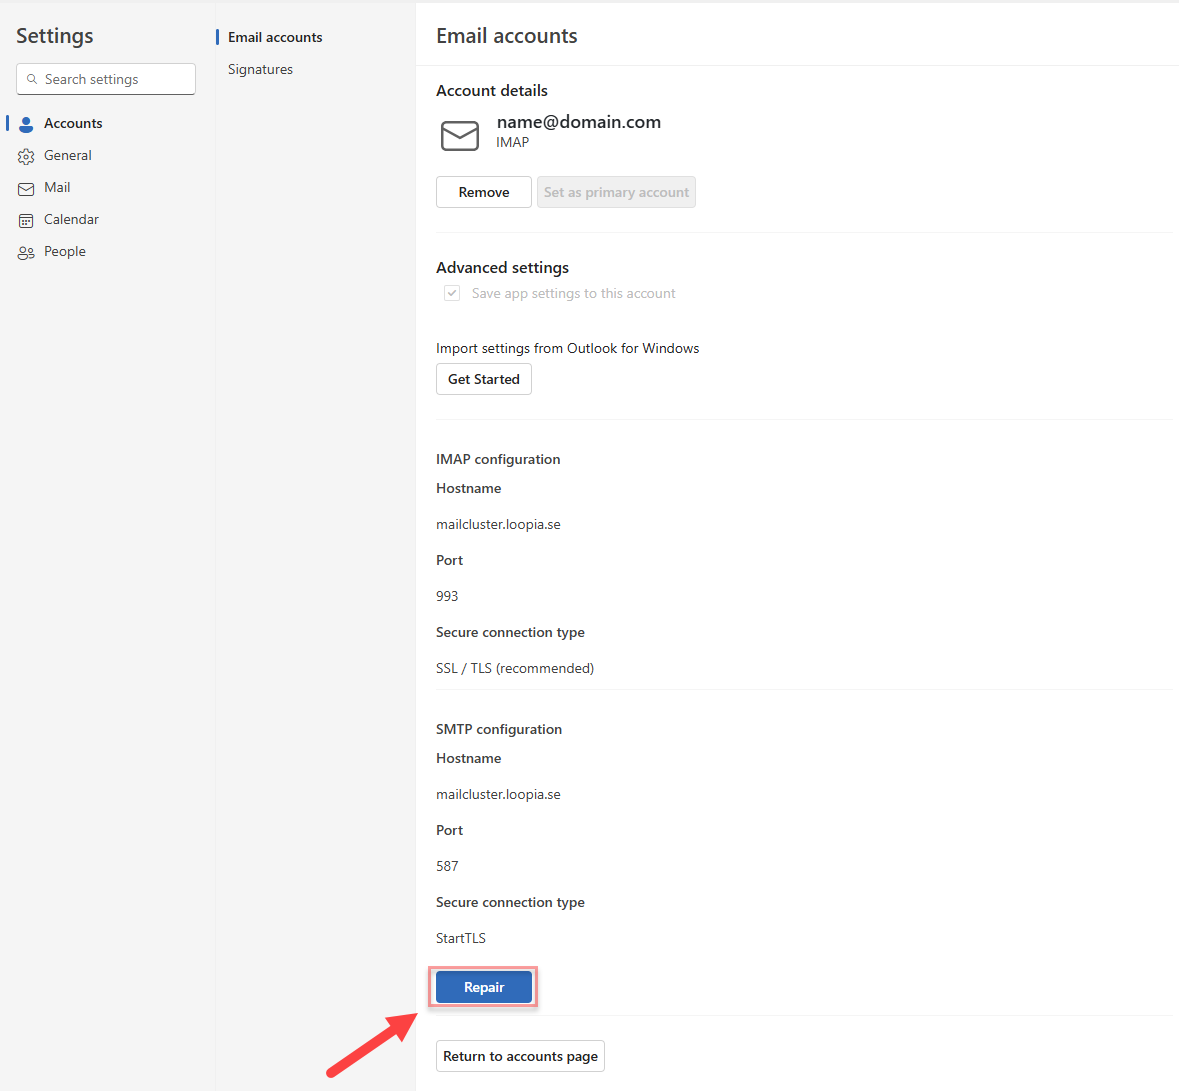
Step 2: Adjust the server settings
You can now adjust the SMTP details and password from the server settings page. Note that the incoming IMAP server and its encryption type cannot be changed here – to alter those, you must remove the account and add it again from scratch.
Once you have made the changes, click Continue to save and finish. Your updates are stored and the account is now configured with the new settings.