This guide shows how to update all links in your WordPress site to use HTTPS (secure HTTP) so that visitors are served over a secure connection and see the padlock (lock icon) in their browser.
Before proceeding, you need to have completed the following steps:
- Your domain needs an SSL (TLS) certificate.
- If you installed WordPress through our One Click Installer and bought the simplest certificate, you need to move all media files to the default uploads directory first.
Once these steps are complete, log in to your WordPress site.
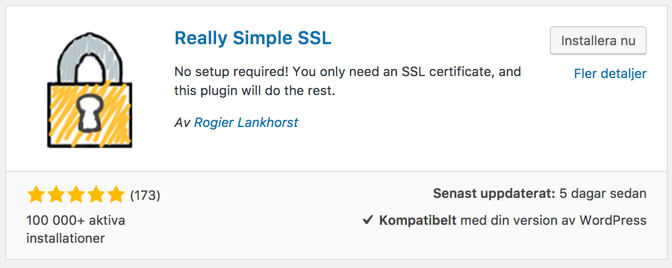
Install the Really Simple SSL plugin
In this guide we make the change using the Really Simple SSL plugin. The free version is sufficient.
Search for it, install and activate the plugin in your WordPress admin.
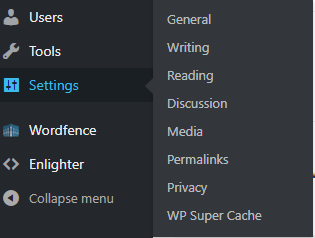
A new menu item will appear under “Settings”.
Activate SSL in WordPress
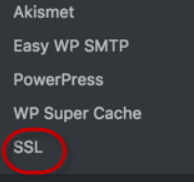
Select “SSL” to open the plugin. You should first see that there is an active SSL certificate for your domain. You can ignore the prompt to buy the Premium version of the plugin — the final step is handled through your Loopia Customer Zone.
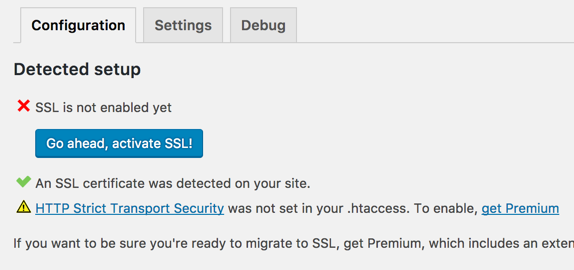
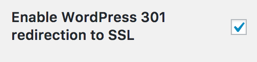
You should see a green tick and the text “An SSL certificate was detected on your site.” Click “Settings” and enable the 301 redirect.
Then return to “Configuration” and select “Go ahead, activate SSL“.
All links are now updated to HTTPS.
Force HTTPS in the Loopia Customer Zone
Log in to your Loopia Customer Zone and choose to “force” all incoming traffic over HTTPS.
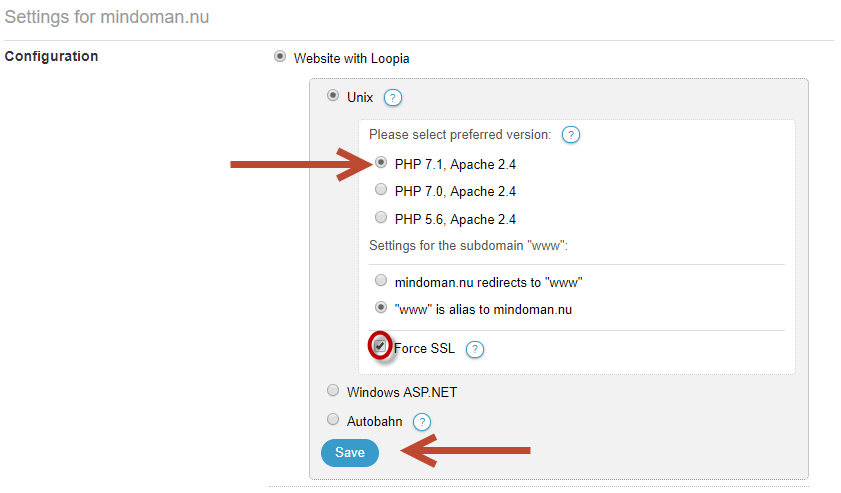
Click “Save”. You can check that everything works by visiting your site and confirming that the address bar shows “https” together with the secure-site padlock.
![]()