This guide explains how to move your uploaded files in WordPress to another directory. For example, if you have installed WordPress via our One Click installer, all uploaded files are placed on the media.example.com sub-domain for performance reasons.
If you would prefer to keep them in the default WordPress uploads directory, follow this guide. You will need an FTP account for your files to complete the move.
Check whether your files are on a media sub-domain
First, check whether your files are on a media sub-domain by clicking “Settings” -> “Media” in the WordPress admin.
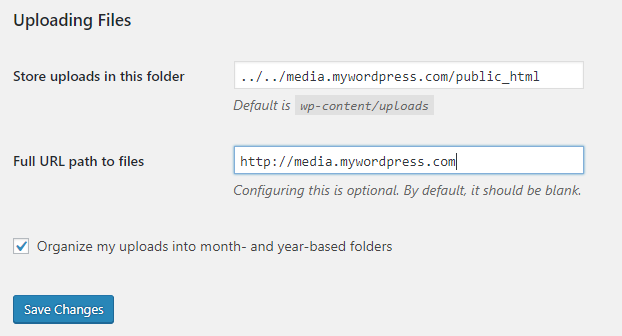
If you do not see these settings, your files are probably already in the default uploads directory.
Move the files via FTP
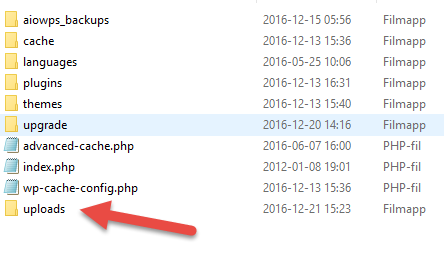
Log in via FTP and locate the home directory containing the media files. In this example they are in media.example.com/public_html/. The same path will apply to your domain, just with your own domain name in place of example.com.

Cut or copy all of these directories and move them to example.com/public_html/wp-content/uploads/. (If uploads does not already exist inside wp-content, you need to create it.)
Update the WordPress media settings
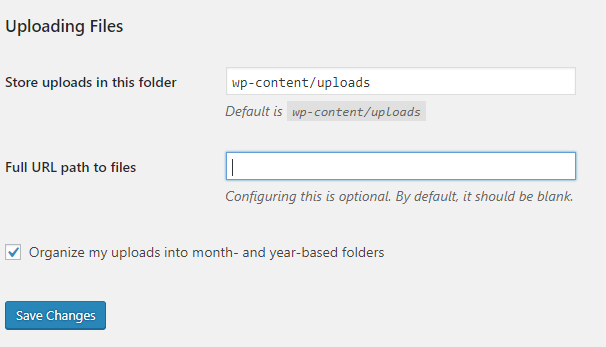
Once all files are moved, go back to the admin and choose “Settings” -> “Media“. Set new uploads to be stored in wp-content/uploads and clear the full URL path field (WordPress will then automatically use the uploads directory).
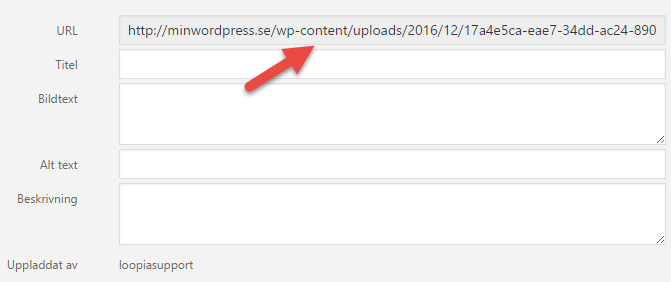
Save the settings and go to “Media” -> “Library” to confirm that your files now have the correct paths.