This guide shows you step by step how to configure your email address for Mozilla Thunderbird.
In this guide we will use info@mindoman.se as an example address, but you should use your own address.
The guide focuses on email addresses that have been created in our customer zone.
Let’s set things up!
Setting up a new account
Step 1: Basic settings
Enter your email address, a display name as well as the password that you have chosen for your email address.

You can click on “Continue” and if you see our server name mailcluster.loopia.se below the text “Incoming” and “Outgoing”, you should be able to just click on “Done”.
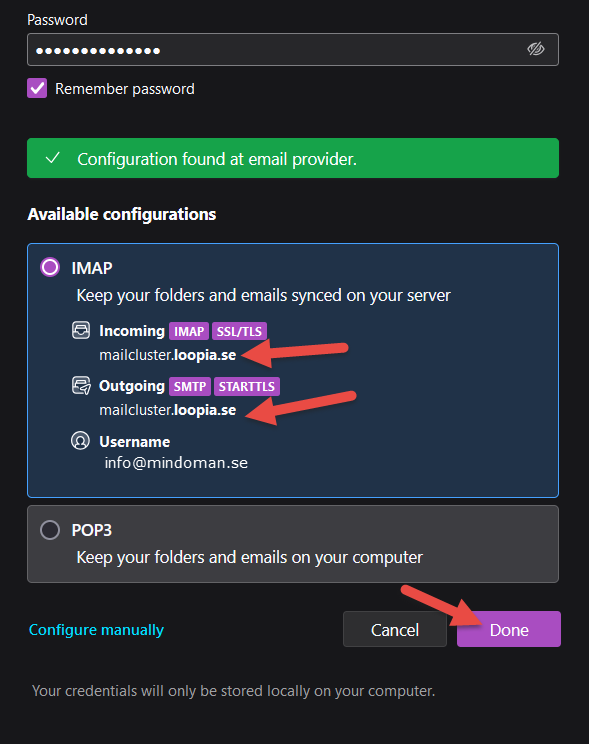
That should add your account to Thunderbird and it should be set up to work automatically. In that case you are done already!
If you see other settings that are not mailcluster.loopia.se such as imap.loopia.se or smtp.loopia.se, you should instead click on “Configure Manually”.
Move on to the following steps below.
Step 2: Enter Loopia email settings
Enter the following settings to make sure that your email account can connect:
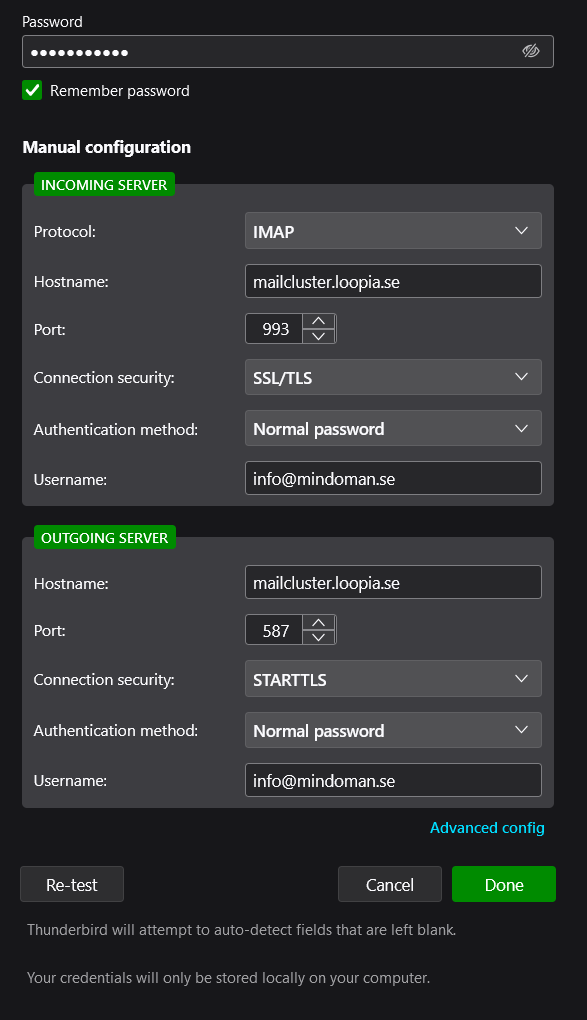
Incoming server
- Protocol: IMAP
- Hostname: mailcluster.loopia.se
- Port: 993
- Connection security: SSL/TLS
- Authentication method: Normal password
- Username: Your email address
Outgoing server
- Hostname: mailcluster.loopia.se
- Port: 587
- Connection security: STARTTLS
- Authentication method: Normal password
- Username: Your email address
Click on “Done” when you’re finished.
Step 3: Complete the setup
When the account settings and your password have been entered correctly, click on “Finish”.
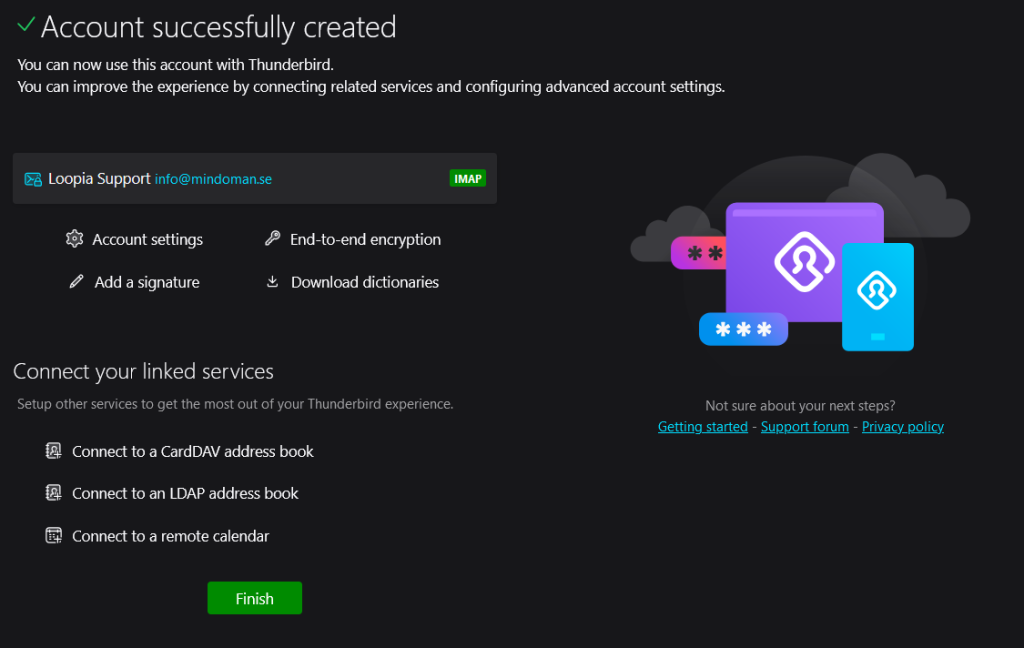
Your account is now set up and ready to go!
Step 4: (Optional) setup of more e-mail accounts
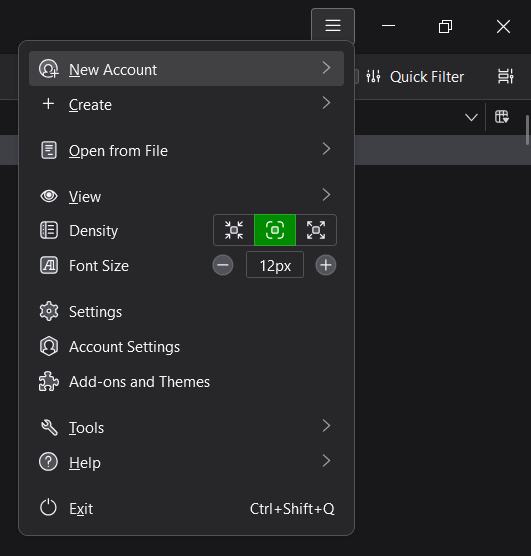
If you have more accounts you wish to add, you can add these by clicking on the Thunderbird menu on the top right of the program.
Select “New account”, then “Email” and follow this guide from the beginning to add an additional account.