Microsoft 365 from Loopia gives you email, shared documents, calendars and online meetings through the familiar Microsoft Office apps (Word, Excel, Outlook) on your computer, phone and the web. This guide walks you through ordering Microsoft 365 licences in the Loopia Customer Zone and creating your first user.
What you get with Microsoft 365
Microsoft 365 includes:
- Email, calendars and shared documents in Outlook, Word and Excel.
- Online editing of documents from any device.
- Mobile apps for phones and tablets.
- A conferencing service for voice and video calls and chat (Microsoft Teams).
Microsoft 365 is not included in Loopia’s web hosting (webbhotell) packages. It needs to be ordered separately from inside the Customer Zone.
Order Microsoft 365 licences
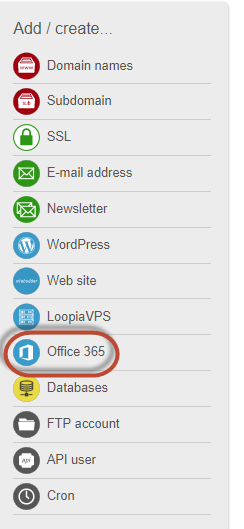
Log in to the Loopia Customer Zone. On the right-hand side of the front page, under Add / Create …, click Microsoft 365.
On the next page, click Add Microsoft 365 licences.
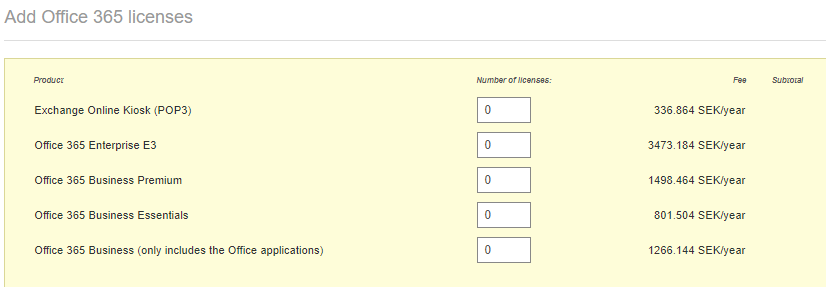
Fill in the order form:
- Choose the domain to enable Microsoft 365 on from the Enable domain name drop-down.
- Pick how many licences you want from the Number of licences drop-down. The price for the selected number of licences is shown alongside.
- Read and accept the terms by ticking the boxes.
- Click Order.

You can pay by card immediately, or wait for the invoice to arrive by email or post, depending on your account settings.

Wait for the order to be processed
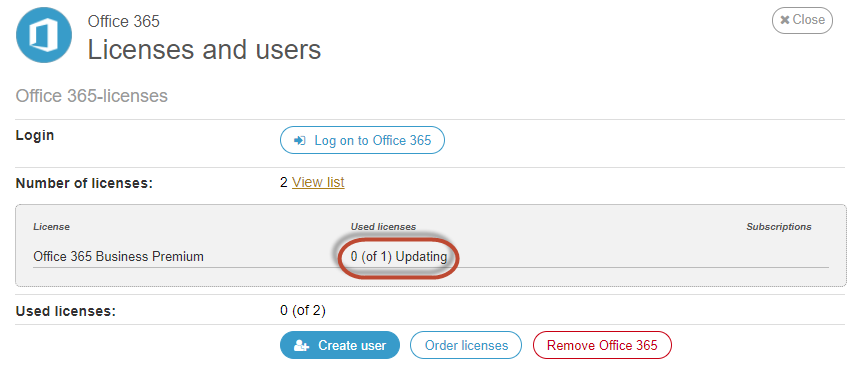
Click Home in the top-left corner and then Microsoft 365 under Services. The order will show in the status bar as Pending while waiting for payment, then as Updating once we’ve received the payment and are activating the service.
Create your first user
Once the order is processed, you can start creating users.
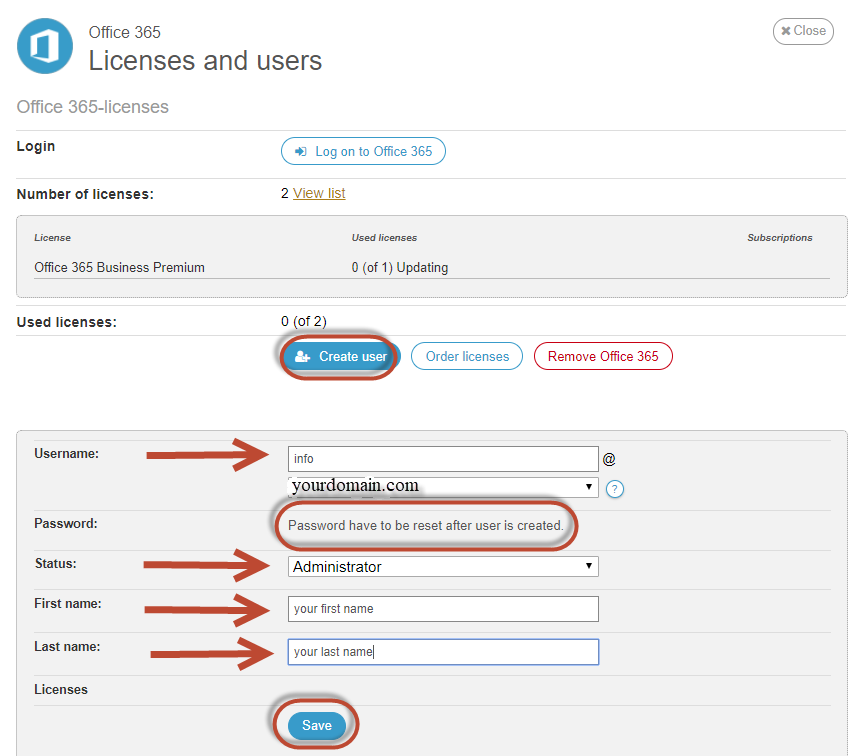
- Click Create user.
- Enter the name part of the email address (the bit before the @). This will be the user’s email address and sign-in name.
- Choose the user’s permission level (regular user or administrator).
- Enter the user’s first and last name.
- Click Save.
Note: the password is set after the user has been created — see the next step.
Set the password and sign in
Go back to the Microsoft 365 page, type the new password in the New password field for the user you just created, and click Save.
You can now sign in by clicking Log on to Microsoft 365.
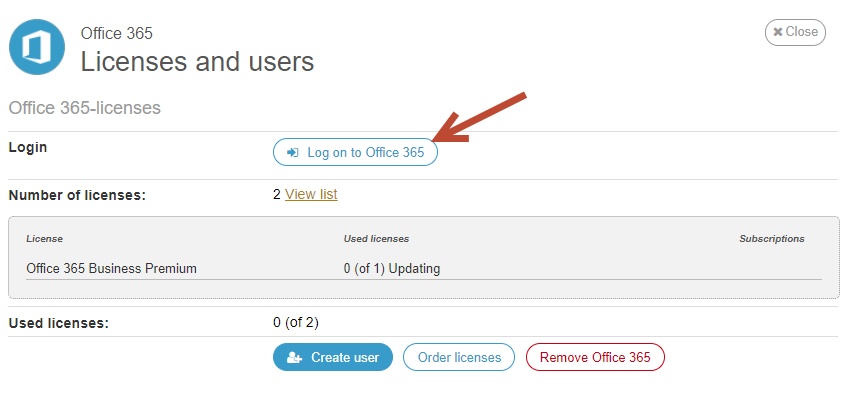
Add more users or licences
If you have more licences available, repeat the Create user step for each additional user. To buy more licences at any time, click Order licences from the Microsoft 365 service page.
If you already have Loopia email addresses you’d like to move to Microsoft 365, follow our migration guide to move email from Loopia to Microsoft 365.