This guide is for Loopia Reseller programme partners only.
This Loopia Reseller guide explains how to edit the invoice (billing) information for an end customer (your client) connected to your reseller (partner) account, and how to set yourself as the reseller to be the invoice recipient so that Loopia’s invoices for that customer are sent to you instead of the end customer.
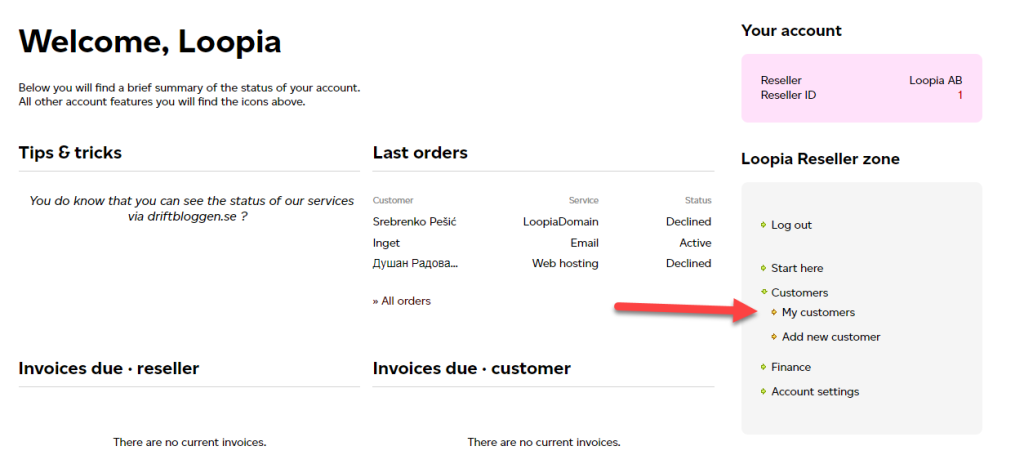
Step 1: Log in to the end customer’s account
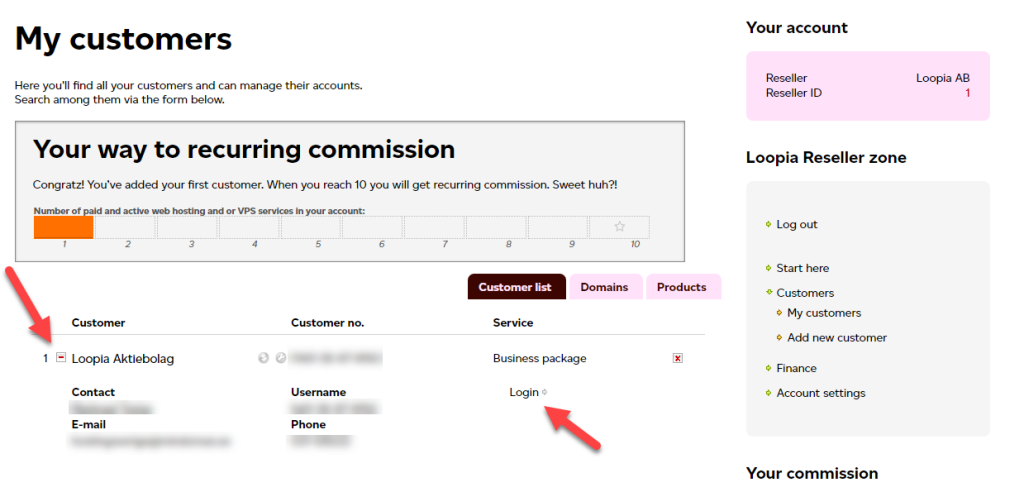
From your reseller account, go to My customers.
Click the + next to the customer’s name to expand the menu, then click Log in to open the customer’s Customer Zone.
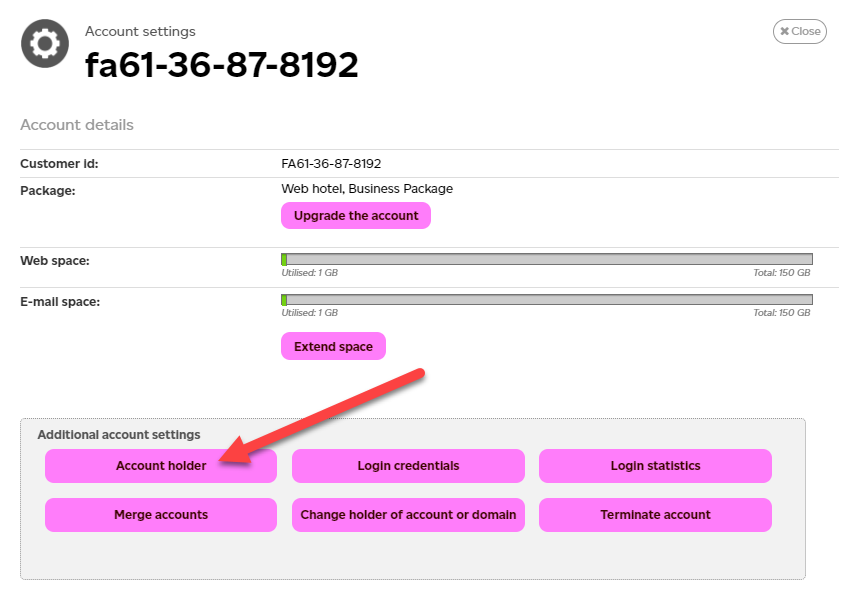
Step 2: Open the account holder settings
You are now in the customer’s Customer Zone, where you can manage their account and services.
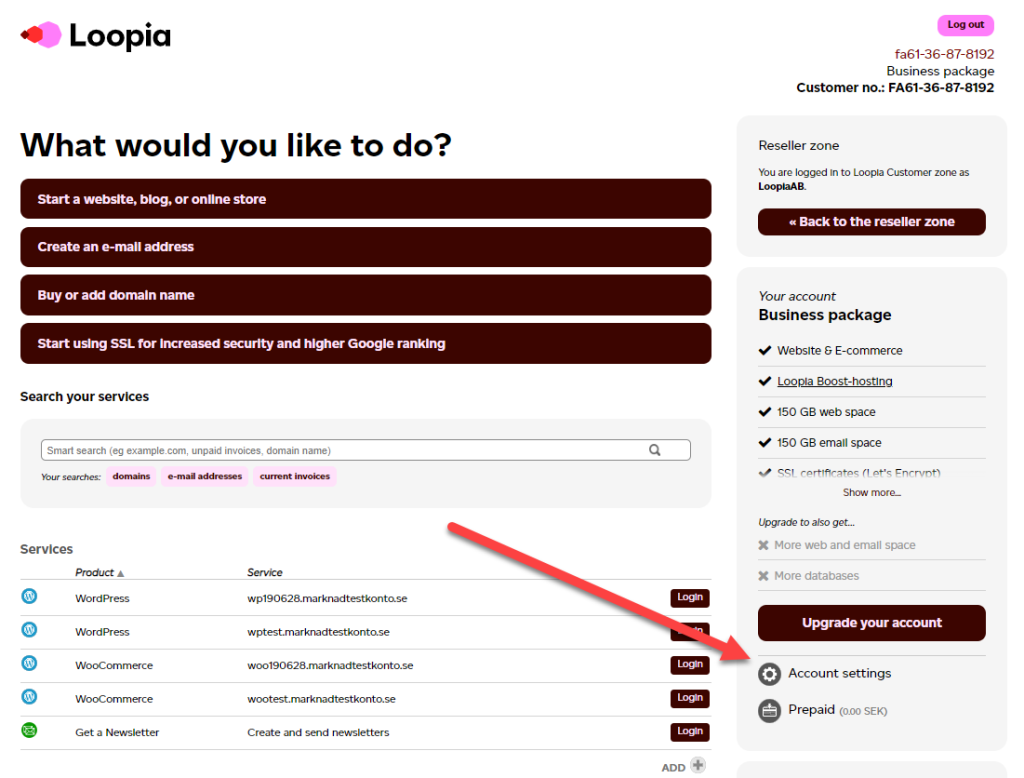
To reach the invoice and contact information, go to Account settings → Account holder.
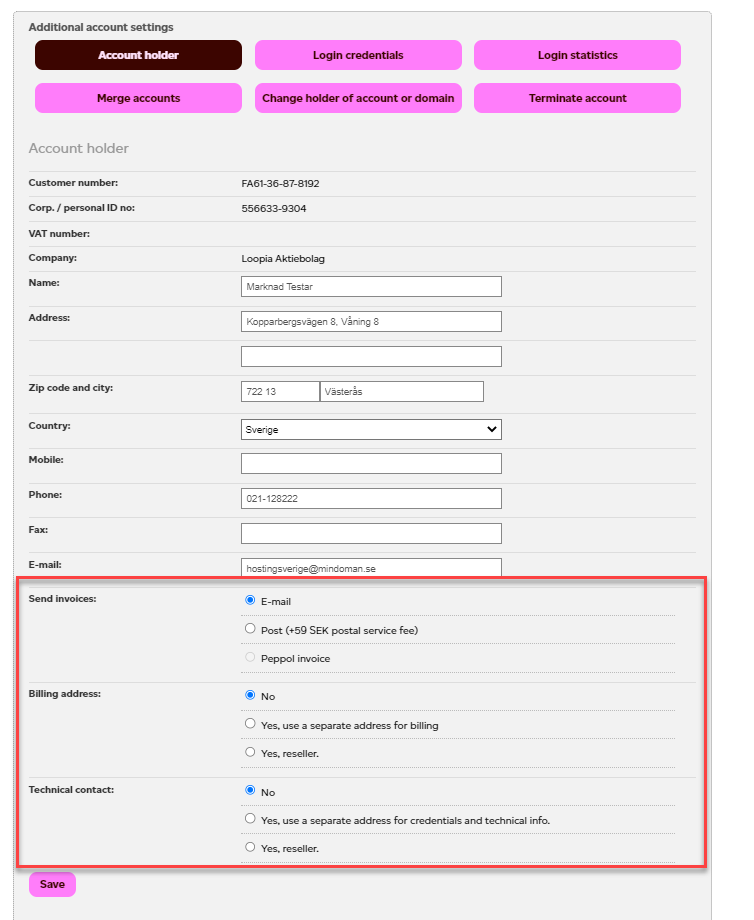
Step 3: Set the invoice recipient
From this page you can update the customer’s contact and invoice details. You can also:
- specify a separate billing contact for the customer, or
- set yourself as the reseller to be the invoice recipient — all of this customer’s invoices will then be sent to you instead of the end customer.