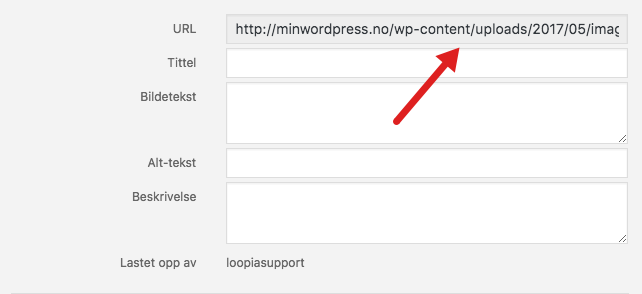
If your images disappear after you enable an SSL (TLS) certificate in WordPress, it is likely that the images are stored on a sub-domain that is not protected by SSL. With HTTPS (secure HTTP) enabled, browsers block content loaded over plain HTTP, so any images served from an unprotected sub-domain will fail to display.
This guide explains how to move uploaded files in WordPress to another directory. For example, if you have installed WordPress via our One Click installer, all uploaded files are placed on a media sub-domain such as media.example.com.
You can follow this guide if you want to keep those files in the default WordPress uploads directory instead. You will need an FTP account for your files in order to perform the move.
Check whether your files are on a media sub-domain
First, check whether your files are on a media sub-domain. You can find this by clicking “Settings” -> “Media” in WordPress.
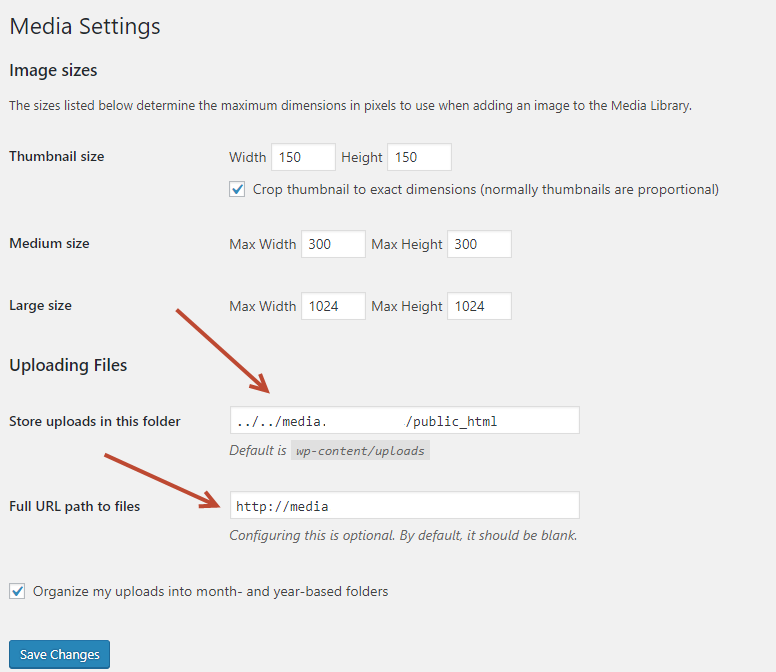
If you do not see these settings, your files are probably already located in the default uploads directory.
Move the files via FTP
Log in via FTP and locate the home directory containing the media files. In this example, they are stored under media.example.com/public_html/. The same path applies to your domain, just with your own domain name in place of example.com.

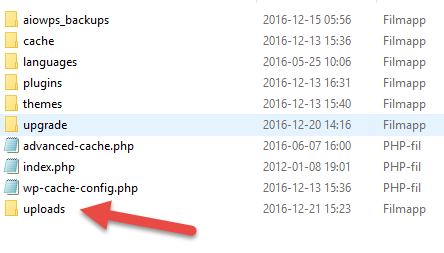
Cut or copy all the directories and move them to example.com/public_html/wp-content/uploads/. (If “uploads” does not already exist inside wp-content, you need to create it.)
Update the WordPress media settings
Once all files have been moved, go back to the WordPress admin and choose “Settings” -> “Media“. Switch the upload location so that new uploads are saved in wp-content/uploads, and remove the full URL path (WordPress will then automatically use the uploads directory).
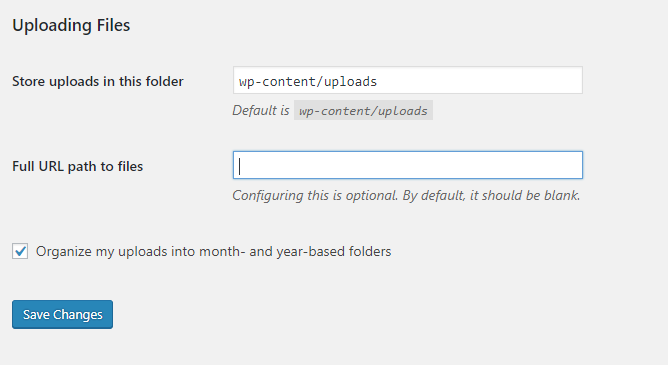
Save the settings and go to the Media Library to make sure your files appear with the correct paths.