Dreamweaver is a homepage productions program that supports uploading websites through the FTP. Adobe created Dreamweaver (before known as Macromedia) and it is a very good choice for you that wants all in one program for your website.
- It supports most FTP servers.
- Has a built in functions for synchronizing the website.
Here’s how to add an FTP account and publish your website with Dreamweaver. Install and start the program with the following instructions:
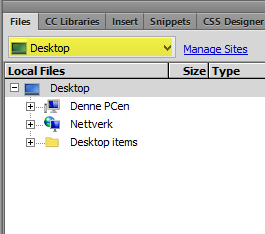
When you launch Dreamweaver, you will find how to connect to the FTP for Loopia in the bottom right corner.
By default, the desktop shows you their files and in order to connect to Loopia via Dreamweaver, do the following:
Click the arrow for “desktop” and select “manage sites“.
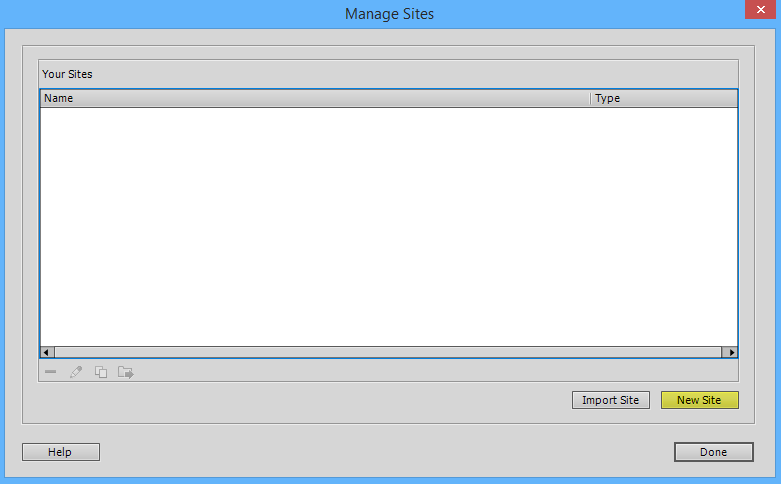
In the next part choose “new site“.
Enter a name for your website and also select which folder your local website files are in.
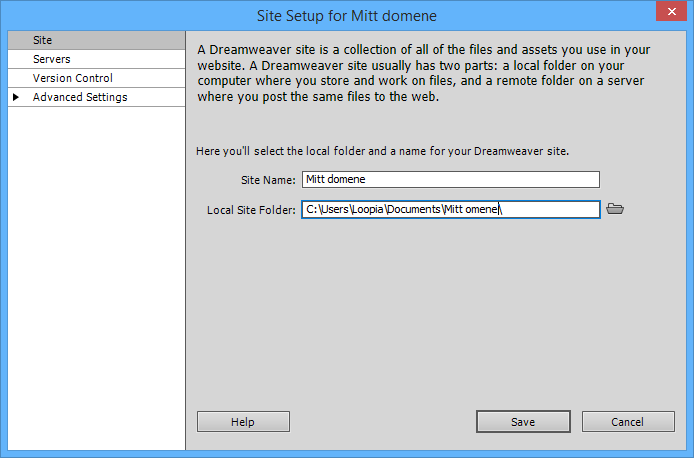
Then click the right menu on the “servers” option and you will get up an empty space.
At the bottom left of that space click the Plus sign.
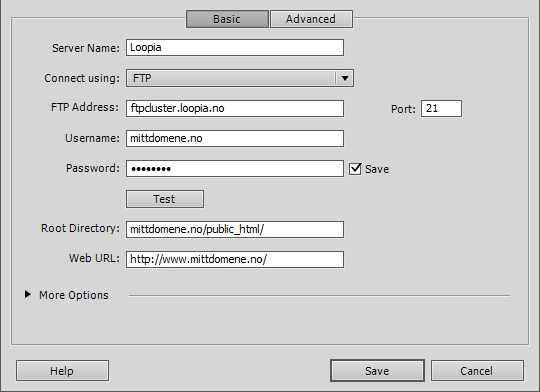
Now the server settings will be displayed.
First enter an optional server name, in the example we have chosen to rename the server link to Loopia.
If it is not already selected, choose to connect with FTP.
-> FTP-Address:
ftpcluster.loopia.se.
-> Username:
yourdomain.com.
-> Password:
The password you provided for your FTP user.
-> Root Directory:
In the space where it said Root directory enter the directory you want to use to log in to the FTP with.
If you want direct access to your web files, please enter yourdomain.com/public_html/ (where you replace yourdomain.com with your domain name).
-> Web-URL
Here you type in the correct address to your website.
Then click “save” to save your settings.
In order to connect your space with Dreamweaver select your type in the list and click on “save“.
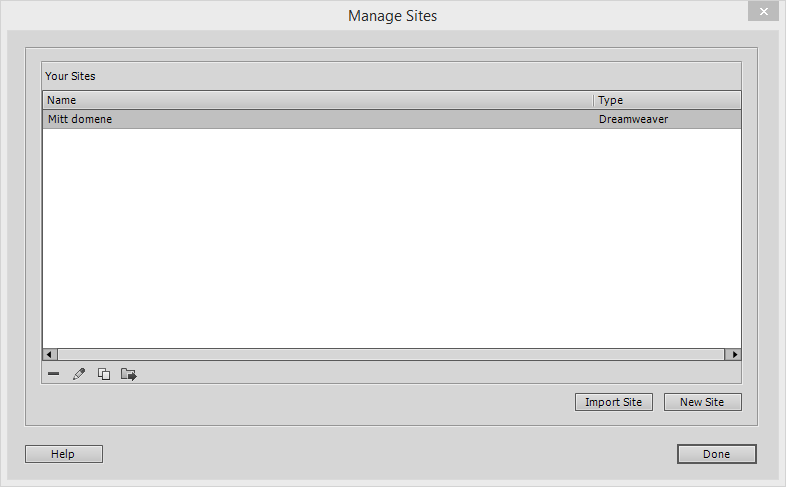
To connect your Dreamweaver space now select your type in the list and click on “done“.