Adobe Contribute is an application that can easily be used to publish websites. This guide is written for Adobe Contribute version 6.5 and the steps for publishing your website may vary for newer versions of the program. To see larger versions of the photos, click on them.
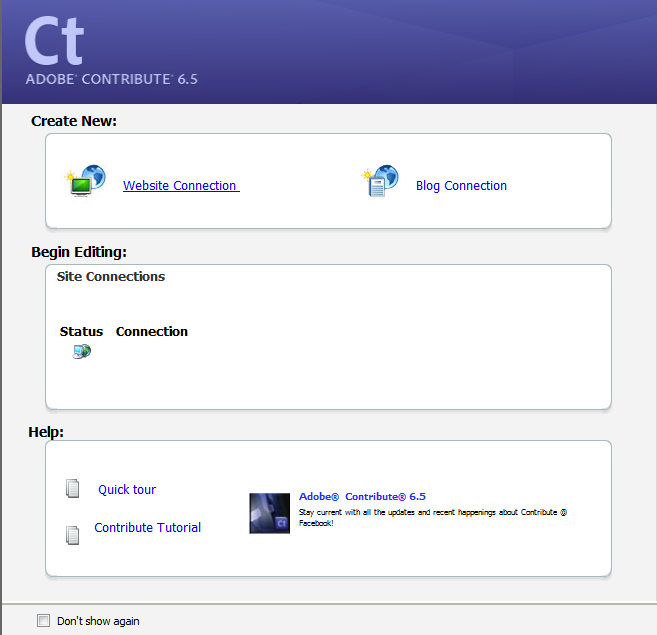
Even when you start the program for the first time, you can choose to create a new Website Connection:
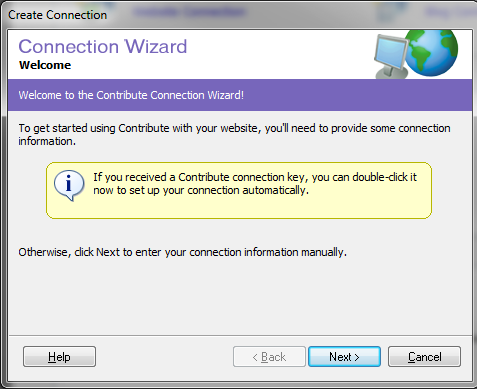
In the next window that appears click the “Next” button to proceed:
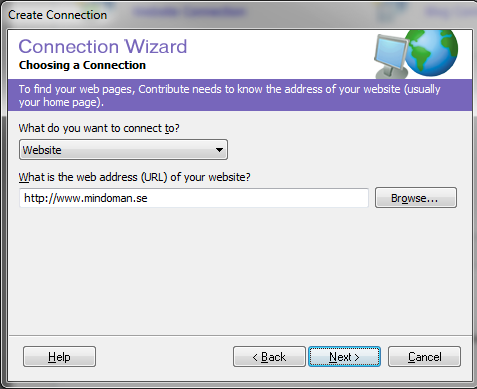
On the next page you have to fill in your website’s visiting address. In this guide we will use the example domain mindoman.se.
In this case, the address must be filled in as http://www.mindoman.se and then click on “Next“:
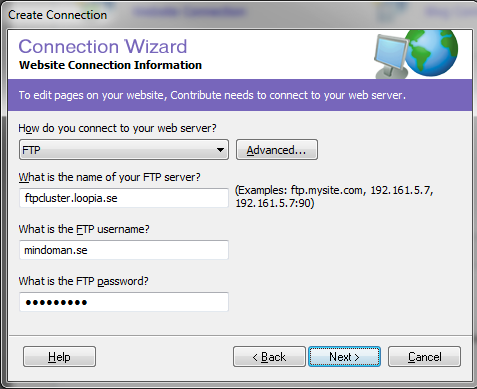
On the next page first select “FTP” from the drop-down list at the top of “How do you connect to your web server?” Then fill in ftpcluster.loopia.se as the server address under where it says (What is the name of your FTP server?). In addition to the username and password that you created for your FTP user inside your Customer Zone at the button under “Account administration” -> “FTP Create and administer FTP users“.
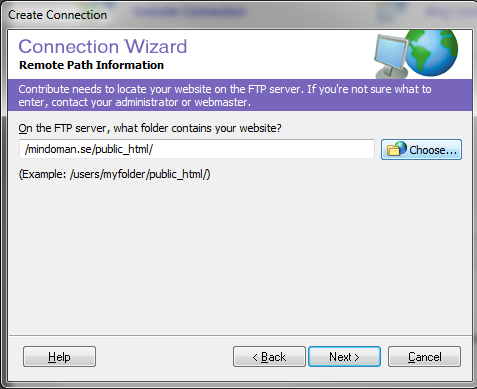
On the next page, fill in the search path for the domain name publishing folder (this is usually the domain name and then public_html at the end) then click on “Next“:
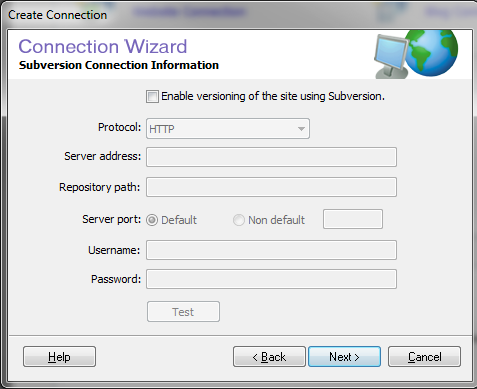
On the next page you do not need to fill in anything just click on the button “next“.
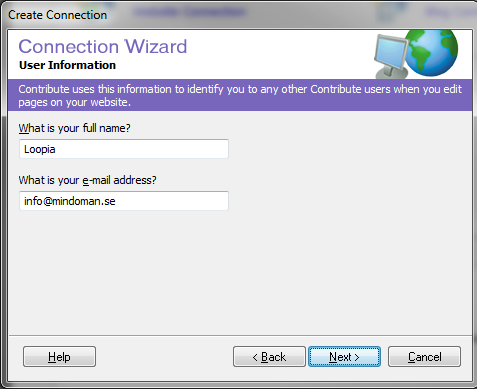
Now we are almost done. Fill in your name or company name and the email address. Click then on “next“.
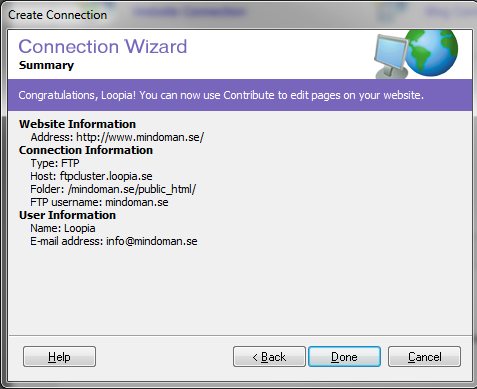
Now the setup guide is complete and you are getting an overview of the settings. Double check that the information is correct. If something should be wrong, just go back in the guide (by clicking on “back” in order to correct it. Once all the information is correct, click on “Done“.
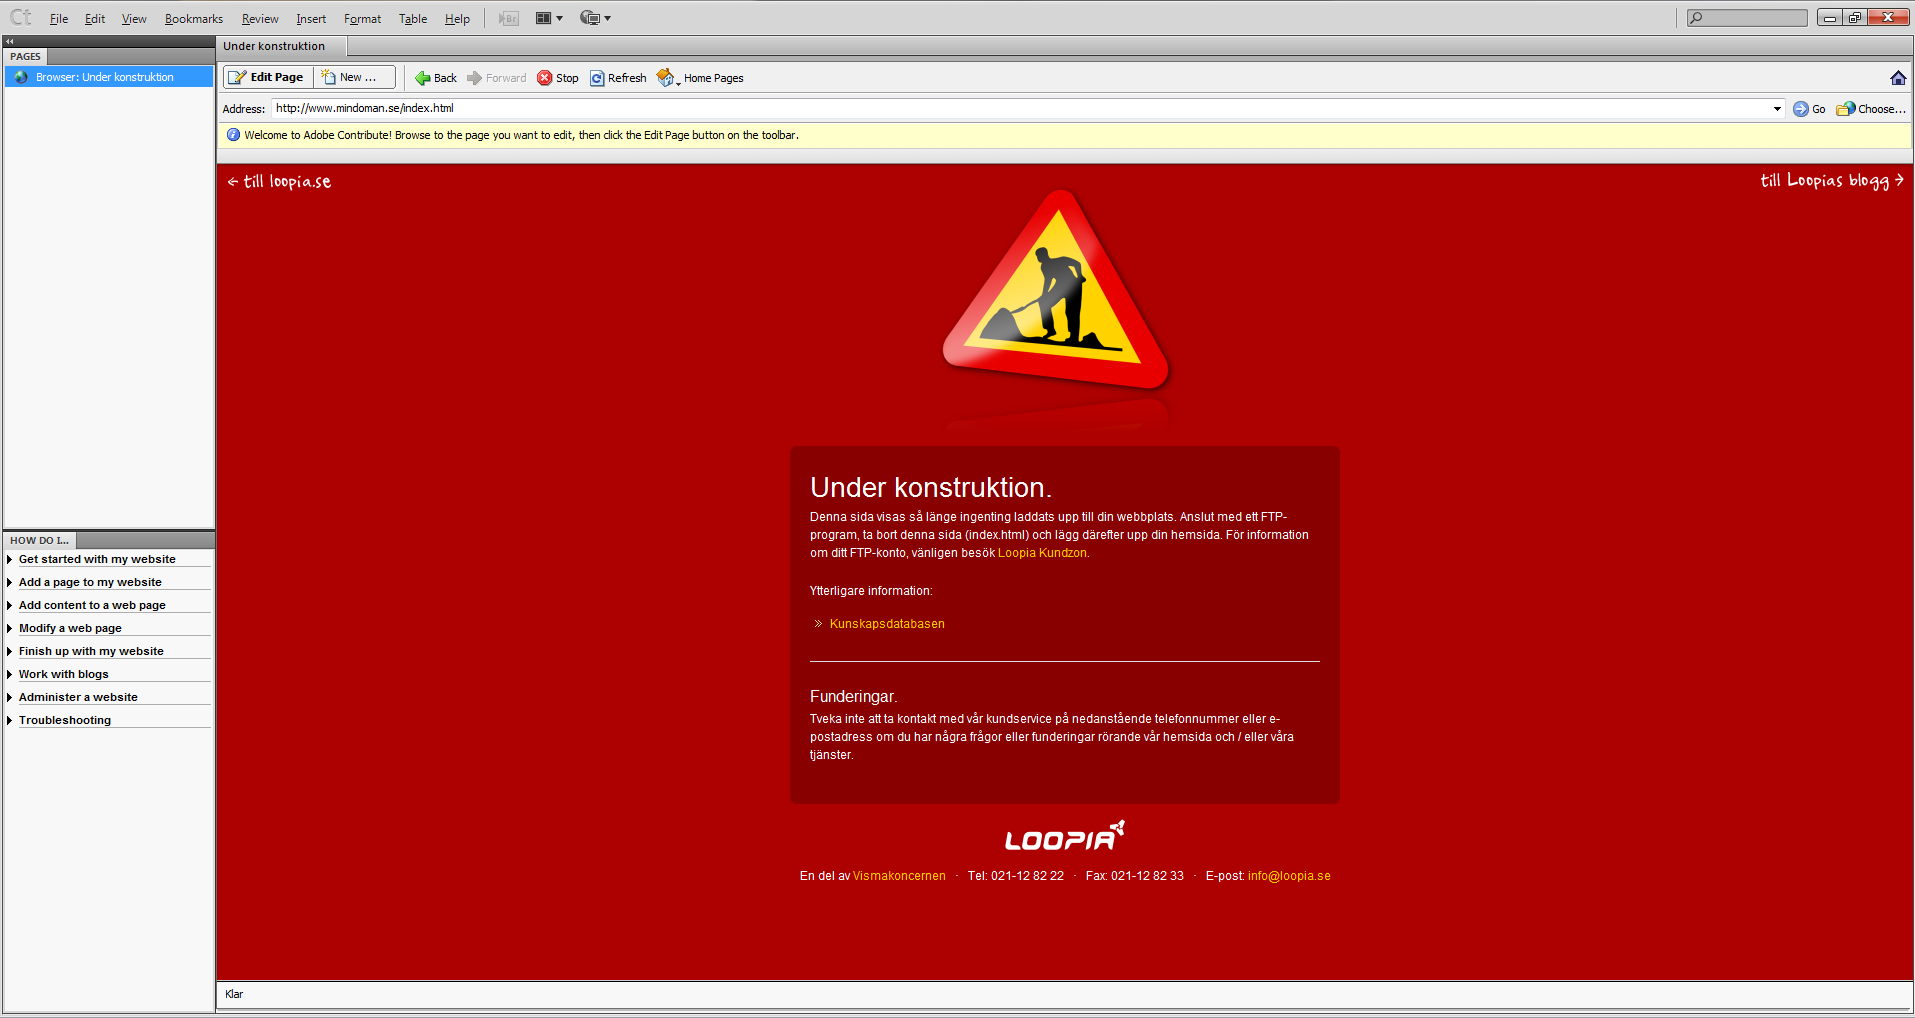
Now the existing website will appear as the main page. (If you have not previously created any website with us) this is our most commonly used construction site. You can now start working with your website and publish it via us directly through Adobe Contribute. Good luck!
