Keeping your WordPress plugins (add-ons) and themes (templates) updated is one of the most important things you can do to keep your site secure. Most of the time this can be done with a single click from the WordPress dashboard (admin area, wp-admin). Occasionally, however, you may need to update a plugin or theme manually – for example if you cannot access the dashboard, or if an update has caused your site to break. This guide explains how to do that step by step using FTP.
Download the latest version of the plugin or theme
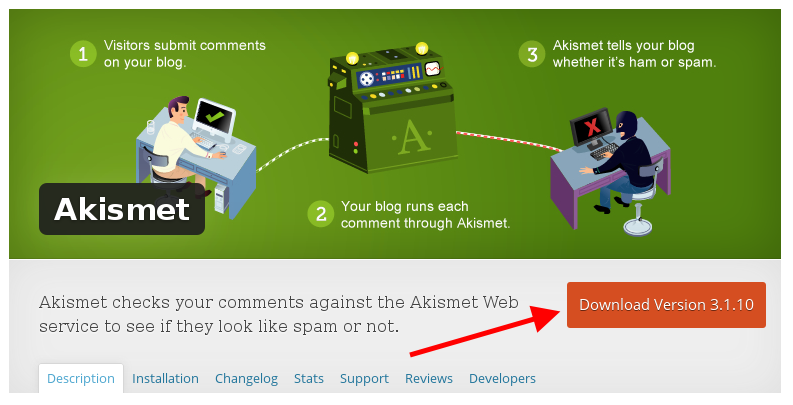
First, fetch the current version of the plugin or theme to your computer. Most free plugins and themes are hosted on WordPress.org, but if you bought a premium plugin or theme you will need to download it from the developer’s website or your account there.
- https://wordpress.org/plugins/ (for plugins)
- https://wordpress.org/themes/ (for themes)
Unpack the downloaded file
The download will be a zip archive. Extract it to a folder on your computer. Inside you should see a single folder named after the plugin or theme (for example, akismet) – this is the folder you will upload to your server.
Connect to your hosting via FTP
Log in to your hosting using an FTP client such as FileZilla. If you have not set up an FTP account yet, see how to add and connect to an FTP account.
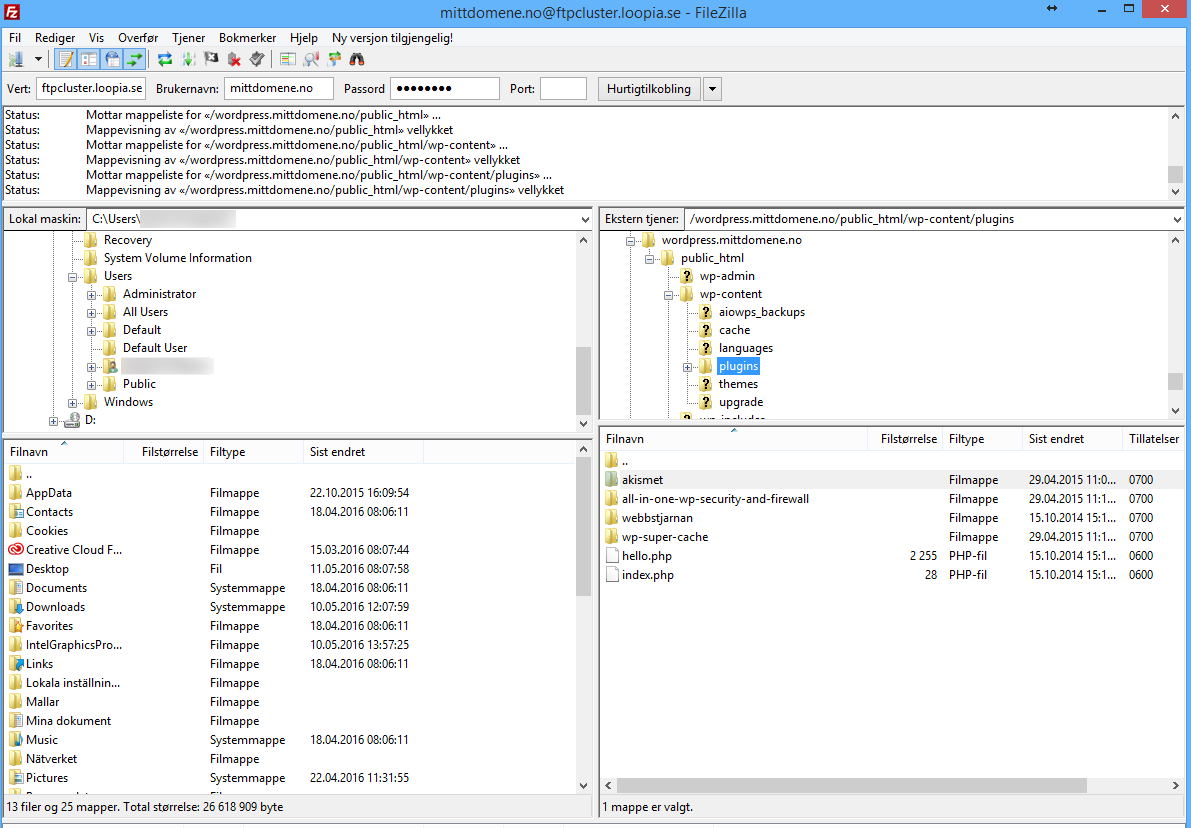
Navigate to the folder where your plugins or themes are installed:
- example.com/public_html/wp-content/plugins (for plugins)
- example.com/public_html/wp-content/themes (for themes)
Replace the old plugin or theme folder
- On the server (the right-hand pane in FileZilla), locate the folder belonging to the plugin or theme you want to update – for example, akismet.
- Delete that folder from the server.
- Drag the newly extracted folder from your computer (the left-hand pane) into the same location on the server.
Once the upload is finished, the plugin or theme has been reinstalled at the latest version. Log in to your WordPress dashboard to verify that everything is working as expected.