This guide shows how to install WooCommerce using Loopia’s One Click Installer, and how to customise the look of your shop and publish your first products. WooCommerce is the most popular plugin (add-on) for turning a WordPress site into an online store.
See also our WooCommerce School for more tips (the school is currently only available in Swedish).
Install WooCommerce via the One Click Installer
Installing WooCommerce through Loopia is easy. You do not need to download any installation files yourself; you get full access to a complete WooCommerce installation in your account directly through the One Click Installer.
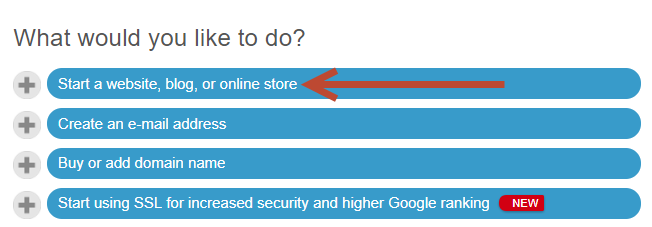
Log in to your Loopia Customer Zone. At the top of the start page you will find our quick installs. Choose Start a website, blog or online store.
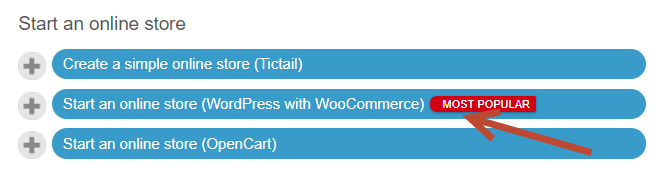
Then select Start an online store (WordPress with WooCommerce) from the available options.
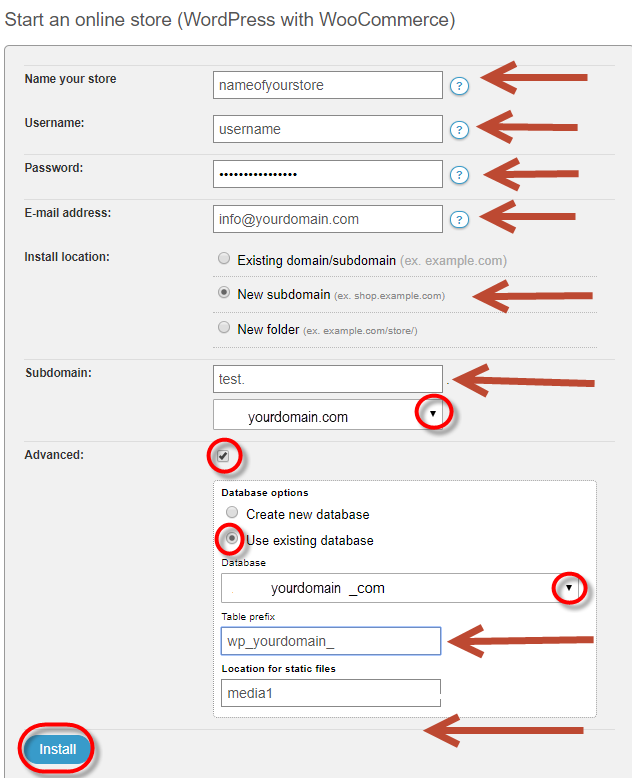
In the next window, fill in the basic information for the installation: the name of your website, your username for the admin area (wp-admin), a password for that user and an email address.
Next, choose which domain name or subdomain to install WooCommerce on. If the domain already contains files, they will be deleted to make room for the new WooCommerce installation. Email settings are not affected.
Under Advanced, you can also choose which database to use for the WordPress tables; pick an existing database or create a new one. You can also choose a location for static material (images, videos and so on) – we recommend leaving this as the default.
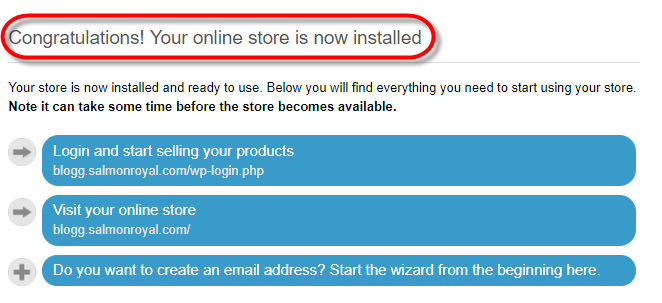
Once you have started the installation, it may take a few minutes before everything is ready and you receive a confirmation.
If you install WordPress on a new domain or subdomain, or on one that previously used Windows or Autobahn as its configuration, it may take up to an hour before the site is available online while DNS is updated. Please wait an hour and the page will work.
We always install the latest stable version of WordPress and WooCommerce, but it is important that you keep your WordPress, plugins (add-ons) and themes (templates) updated as new versions and security patches are released. When you are logged in to the WordPress dashboard you will be notified about any pending updates.
Customise WooCommerce
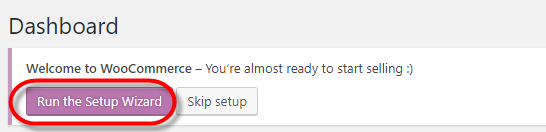
The first time you log in, WooCommerce will offer to help you set up the shop. You can run this wizard later, but it is also fine to do it right away.
Click Run the Setup Wizard to customise your store.
In the wizard you can choose your currency and (if you sell physical products) configure shipping. You can also customise the payment options. To enable a payment option, switch its toggle to the right; to disable it, switch it to the left. Below you can see the payment options WooCommerce provides:
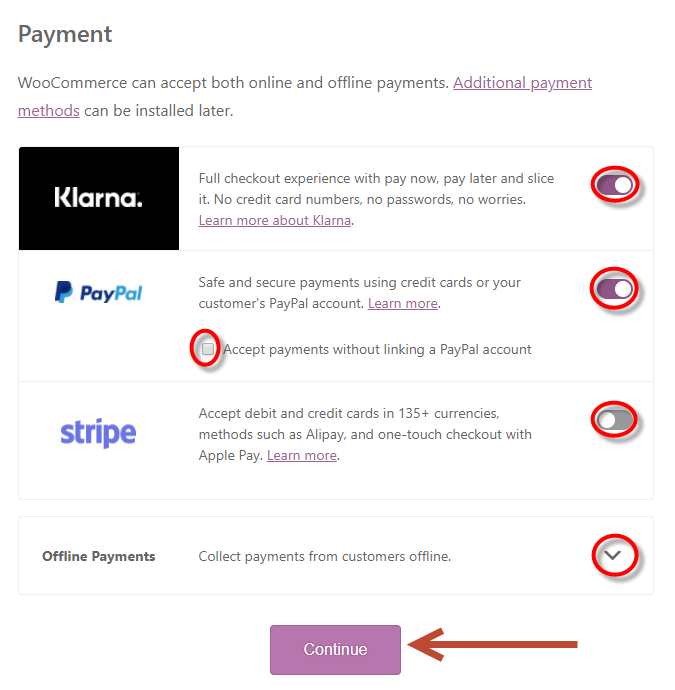
When you have chosen your payment solutions, click Continue.
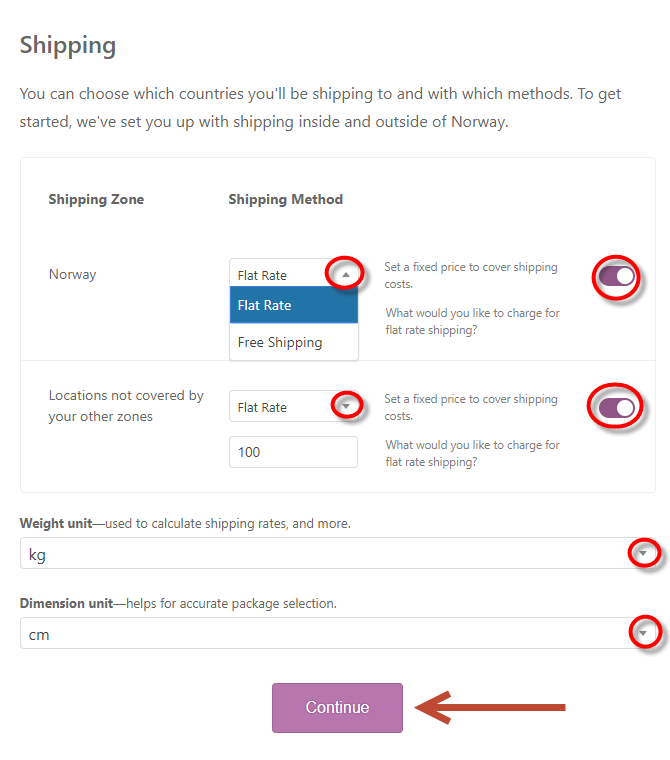
Choose the shipment type (if any) and the cost.
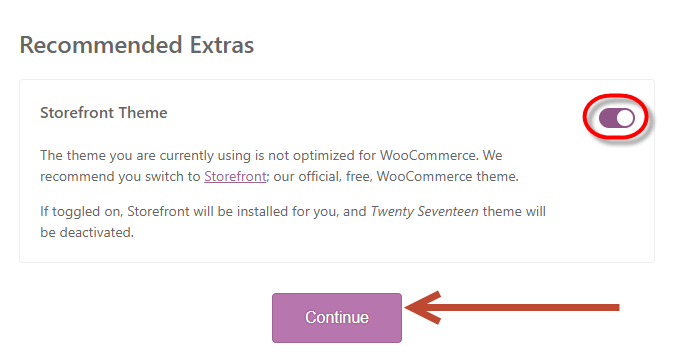
The wizard may suggest additional themes and plugins. You do not need to choose these now – just click Skip this step.
Once the wizard is complete you can start uploading your products.
See also our WooCommerce School for more tips (currently only available in Swedish).
Themes
WooCommerce’s own launch theme (template), Storefront, is included with your installation. You can manage themes from Appearance → Themes.
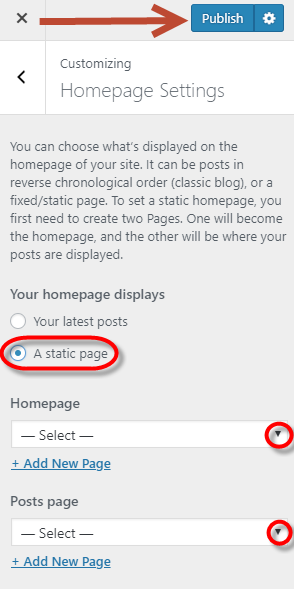
If you want your online shop to appear directly when visitors arrive at your site, go to Appearance → Customize → Homepage Settings.
Switch to a different theme
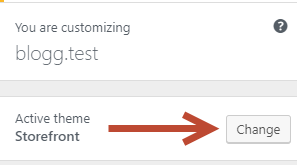
To add a brand new theme (template), go to Appearance → Customize → Change (next to the name of your current theme at the top of the menu). You can then filter by different criteria.
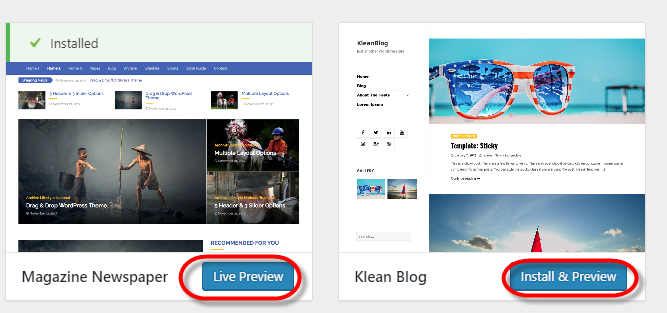
You can choose between Installed themes and WordPress.org themes. Once you have found a theme you like, click Live preview or Install & Preview, then click Activate & Publish.
If you change your mind, go to Appearance → Themes, where you can easily re-enable a previous theme.
If you have CSS skills, you can build your own theme or customise an existing one. You can edit CSS directly from the dashboard under Appearance → Editor.
Tip: WordPress works well for more than just blogs. You can create static pages for any purpose by clicking Pages → Add New.
Tip: WordPress is constantly updated with new features and security patches. Always keep your WordPress, themes and plugins up to date. If a theme or plugin is no longer supported by the latest WordPress version, replace it – keeping outdated extensions is a security risk and may prevent you from updating WordPress itself.
See also our WooCommerce School for more tips (currently only available in Swedish).