DynDNS Updater is a small Windows program that keeps your DynDNS (dynamic DNS) record up to date when your internet connection changes IP address. This guide explains how to configure DynDNS Updater 3.1 to work with your LoopiaDNS account, so your domain or subdomain always points to your current IP.
Install DynDNS Updater and start the setup wizard
You can download DynDNS Updater here. As soon as you install and start DynDNS Updater for the first time, a setup wizard (guide) will launch. The wizard asks how you connect to the internet and what login details you have.
Enter your LoopiaDNS login details
Follow the instructions until you reach the Login Information step. Enter your username and password for your LoopiaDNS account here. You do not need to create a separate account at DynDNS.org.
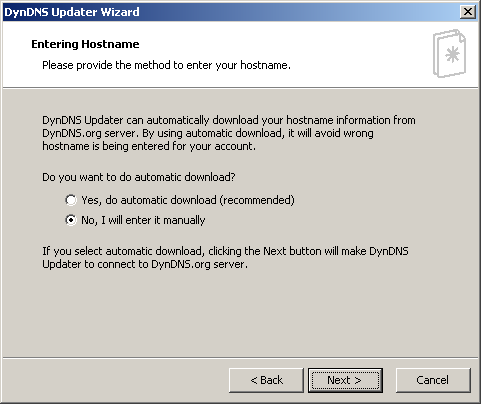
In the Entering Hostname step, select No, I will enter it manually.
Add the hostname (domain or subdomain)
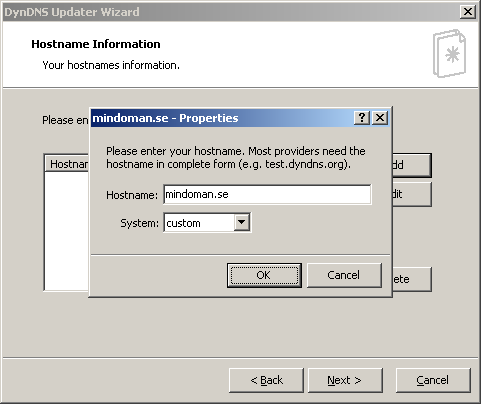
In the Hostname Information window, select Add. Then enter the domain name or subdomain (e.g. home.example.com) you want to keep updated. In the System field, select custom and click OK.
Edit the DynDNS.ini configuration file
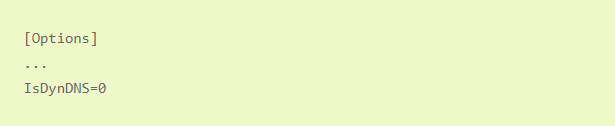
Once the wizard is finished, the program will start. Close it down. Then open the DynDNS.ini file located in the folder where you installed the application (by default C:/Program/DynDNS Updater/DynDNS.ini). Find the [Options] section and add IsDynDNS = 0 as shown below.
Add the LoopiaDNS configuration file
Before you start DynDNS Updater, download the LoopiaDNS configuration file and save it in the same folder where you installed the program (typically the path shown below).

Point DynDNS Updater at LoopiaDNS
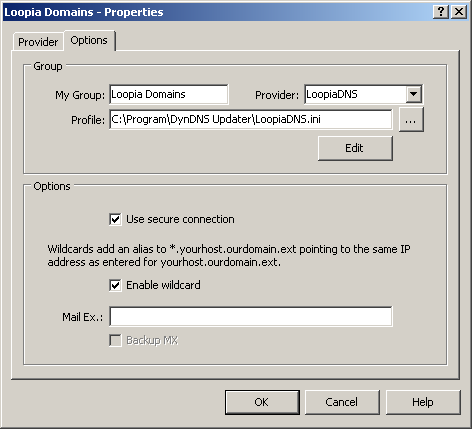
When you start DynDNS Updater, go to Info, then Settings. Select the group you created during installation and choose Edit. Under the Options heading, type Provider: LoopiaDNS followed by the path to the configuration file, as below.
For this article, we would like to thank Timmy at tim-international.net for the original initiative.