An MX record (Mail Exchanger record, a type of DNS record or zone entry) tells the internet which mail server should receive email for your domain name. Add or change an MX record when you want to route your domain’s email to an external email provider while keeping the domain registered with Loopia.
Open the DNS editor
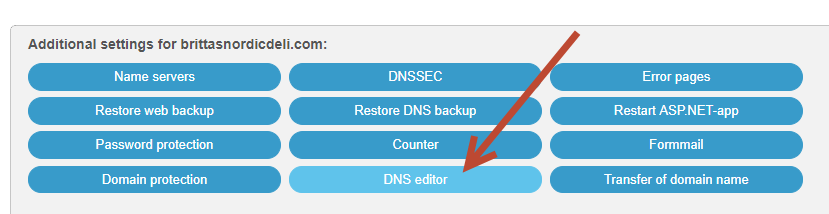
Start by logging in to the Loopia customer zone and clicking the desired domain name under “Domain names”. A new tab opens. Scroll down and select DNS editor at the bottom of the page.
The tab will expand to show the more advanced settings for your domain. Changes made in the zone file can affect how the domain works, so be careful, but if you follow this guide you will be fine.
Remove existing MX records
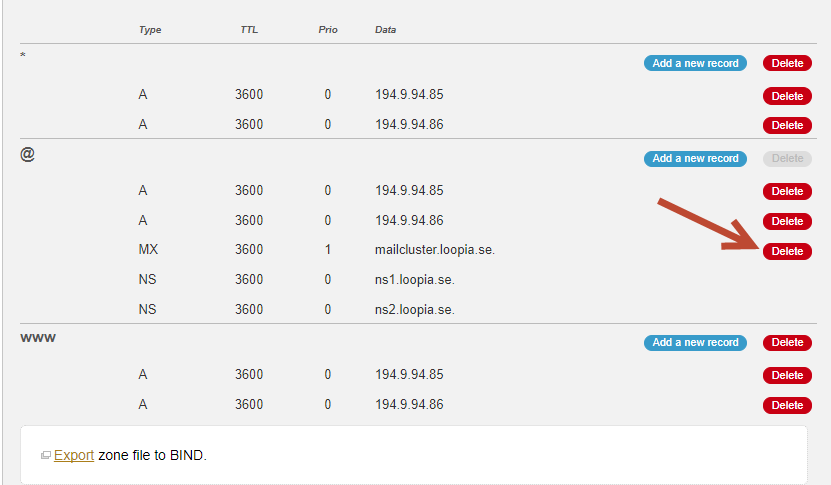
If MX records already exist under the “@” subdomain (e.g. blog.example.com), remove them by clicking the red Delete button next to each one.
Add the new MX record
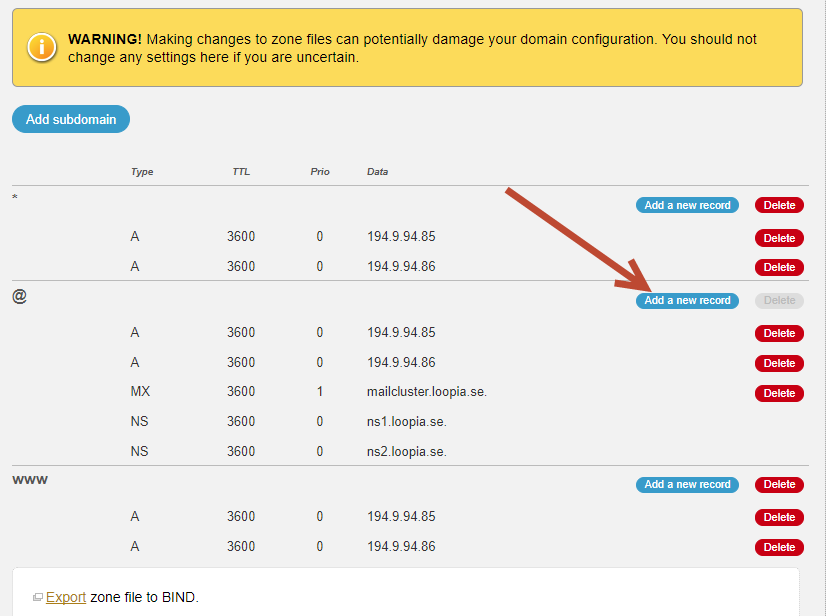
Click the Add a new record button to add your MX record.
Fill in the form as follows:
- Type: Must be “MX”.
- TTL: Should be the same value as the other records under “@”.
- Priority: Specifies the order in which mail servers are tried, with the lowest value tried first. The value must be 1 or more.
- Data: The hostname you received from your email provider. This cannot be an IP address.
In our example, we have added an MX record with Priority = 1, TTL = 3600, and Data (target) = mail.example.com. TTL must always be set to the same value as the other records on the same subdomain.
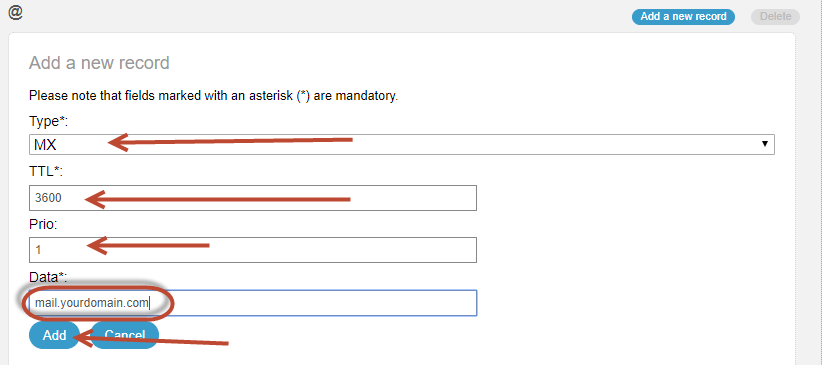
When you are happy with the values, click Add. Please note that DNS changes may take up to 24 hours to propagate across the entire network.