Moving from Blogger to a self-hosted WordPress site on Loopia is a straightforward process: install WordPress on your Loopia hosting, export your content from Blogger as an XML file, then import that file into WordPress. This guide walks through the whole journey, from the first WordPress install to verifying that all your posts have arrived safely.
Install WordPress on your Loopia hosting
Start by installing WordPress on Loopia. You can do this directly from the Customer Zone (kundzon) using Loopia’s One-Click Installer. After the installation finishes it may take a couple of hours before the WordPress administration panel (dashboard, wp-admin) is reachable via your domain name. If you are not yet ready to point your domain at Loopia, you can work on the new site straight away via the loopiadns.com preview address that Loopia provides.
Export your content from Blogger
- Log in to your Blogger panel.
- Go to Settings and scroll down to the Other section.
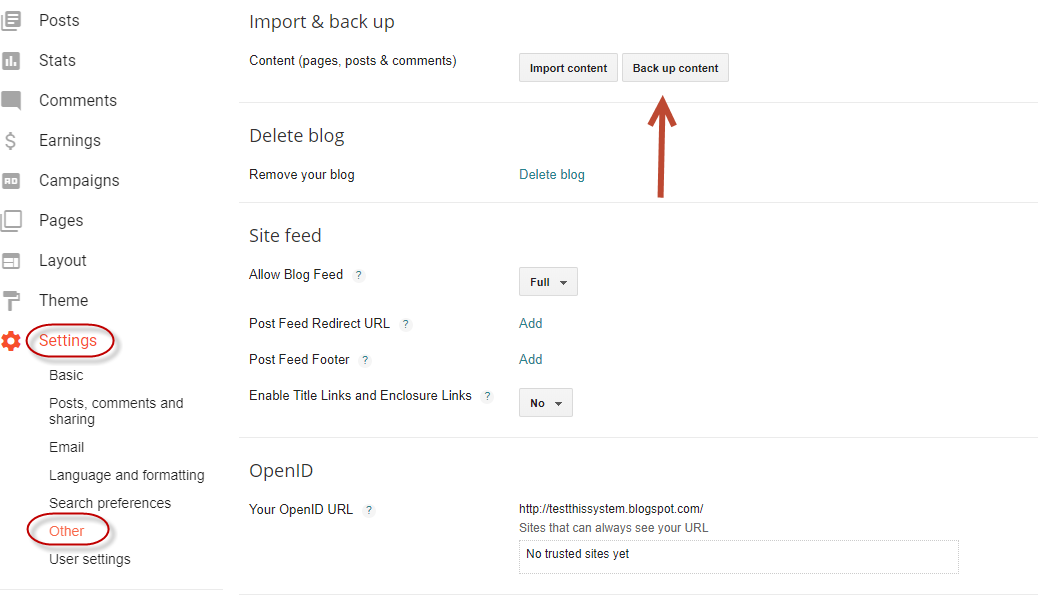
- Click Back up content. A dialog appears asking where to save the backup file on your computer.
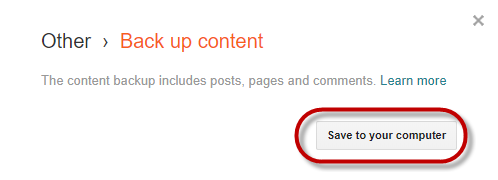
This is an XML file containing your posts, comments and pages. Save it somewhere you’ll remember – you’ll need it in the next step.
Import the content into WordPress
- Log in to your WordPress dashboard (admin area, wp-admin).
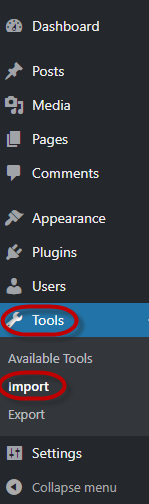
- In the left-hand menu, click Tools > Import.
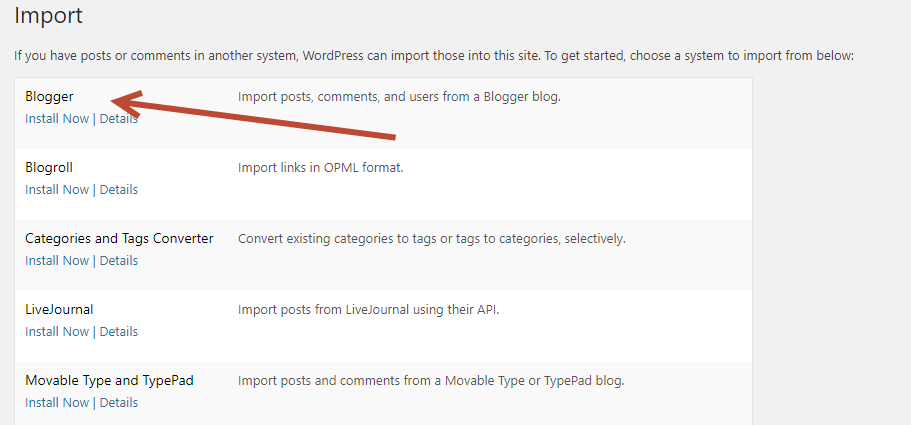
- WordPress lists several import sources. Blogger is at the top. Click Install Now beneath it.
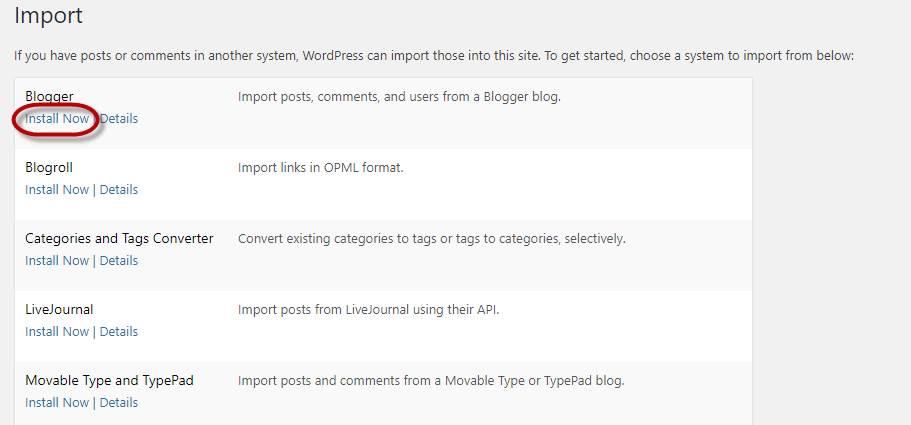
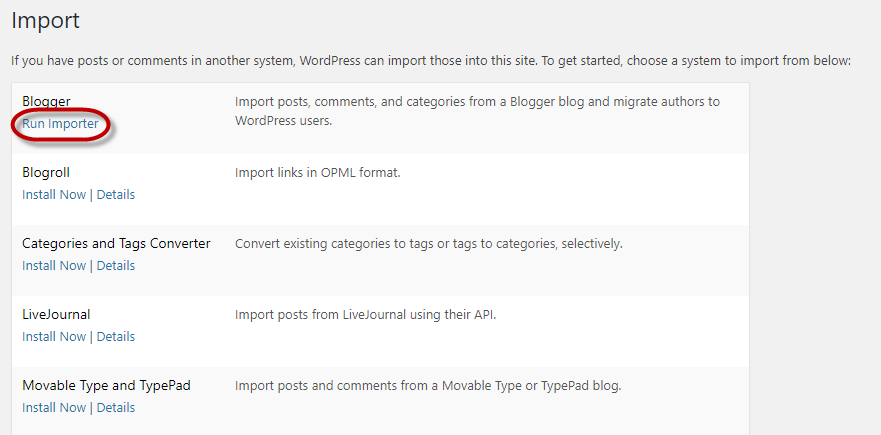
- Once the importer is installed, click Run Importer.
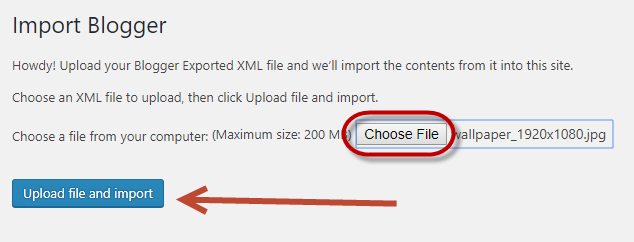
- Click Choose File and select the XML file you exported from Blogger. Then click Upload file and import.
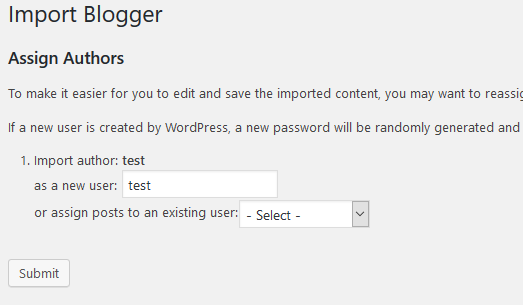
- WordPress asks how to handle the author of the imported posts. You can either create the same author name as on Blogger, or assign the posts to an existing WordPress user. Make your selection and click Submit.
Verify the import
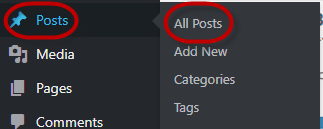
When the import finishes, go to Posts > All Posts in the dashboard to check that everything came across correctly. Open a few posts to confirm the formatting and any embedded images look as expected.
Your content is now safely on WordPress. From here you can pick a theme (template), install plugins (add-ons) and start customising your new site.